Module 3 Formstorming
Weekly Activity
Jasmine Rose Ramos
Project 3
Module 3
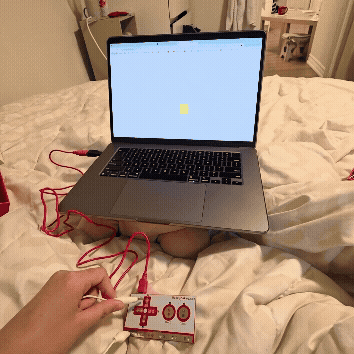
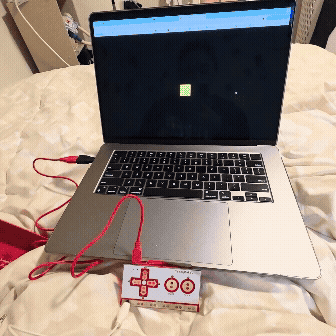
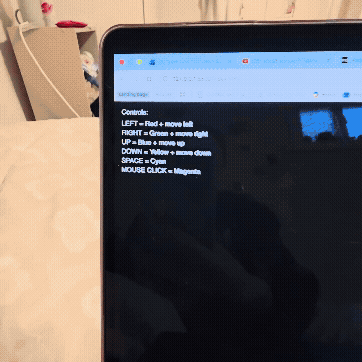
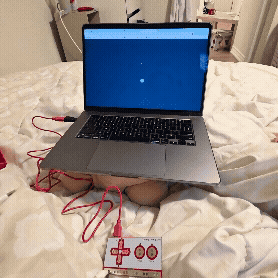
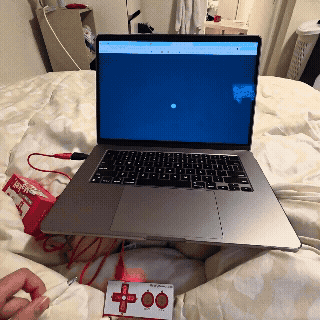
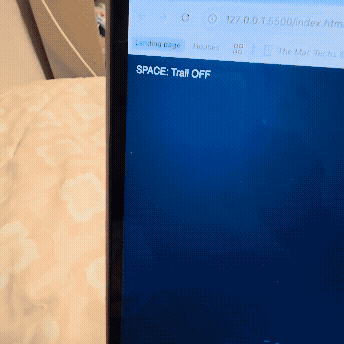
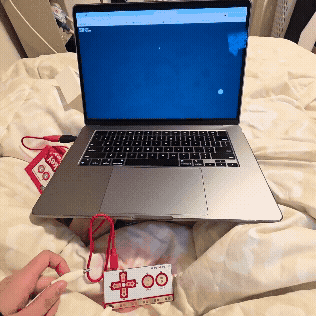
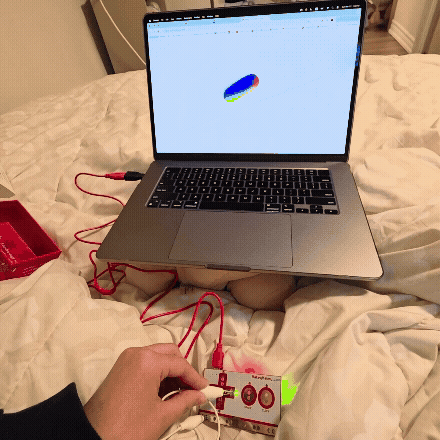
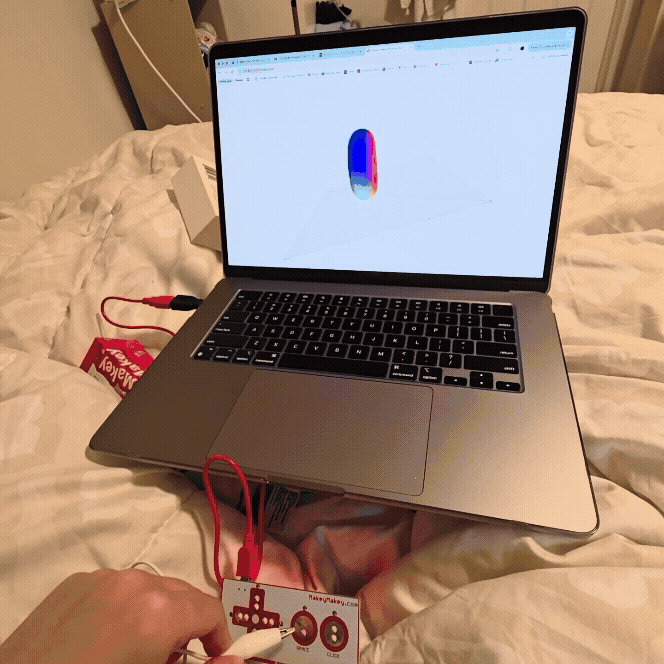
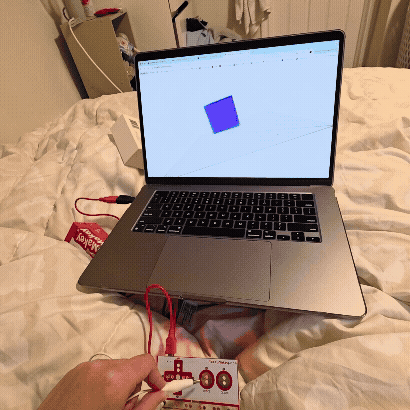
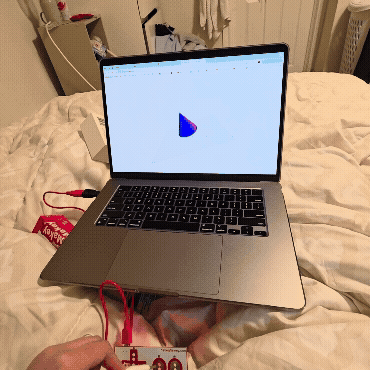
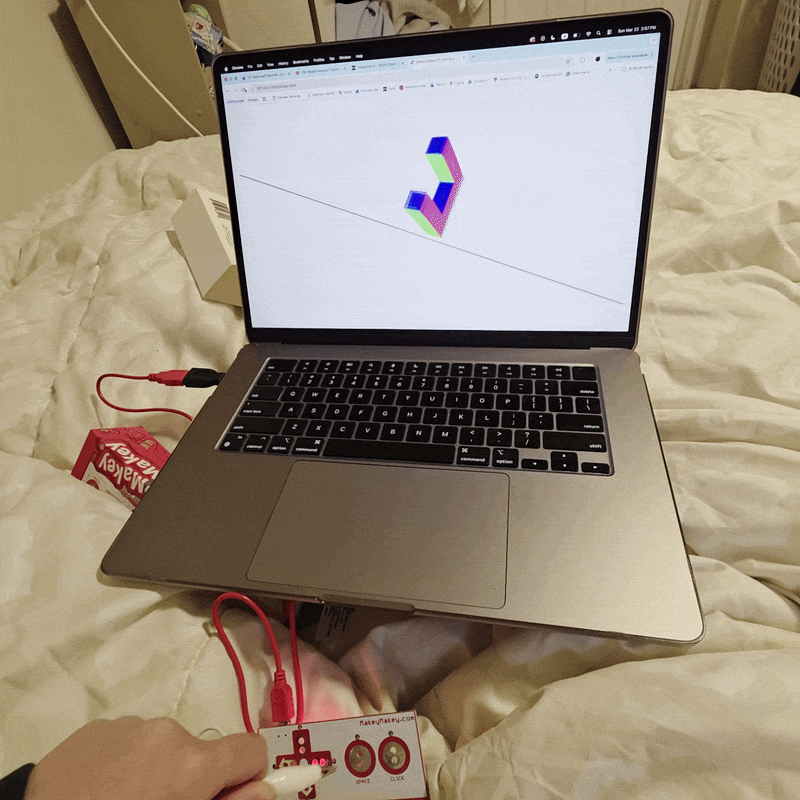
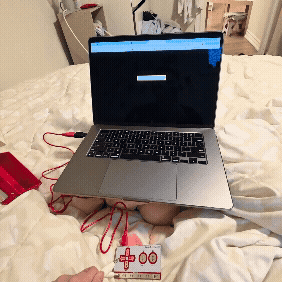
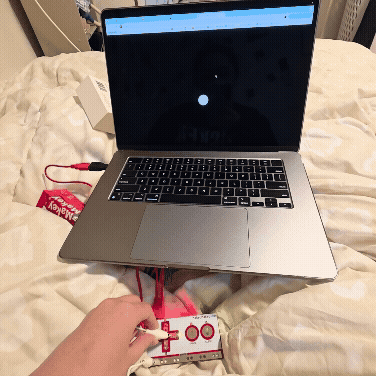
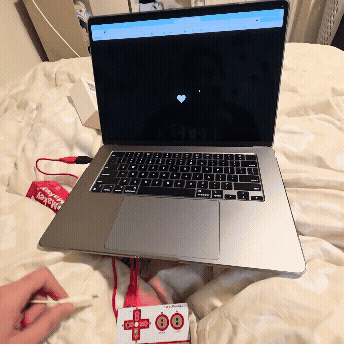
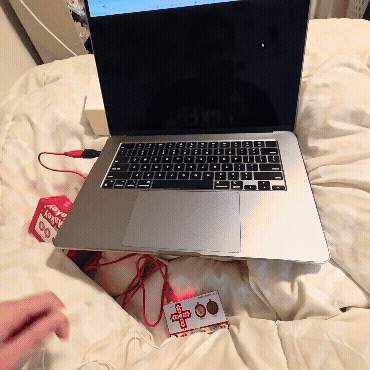
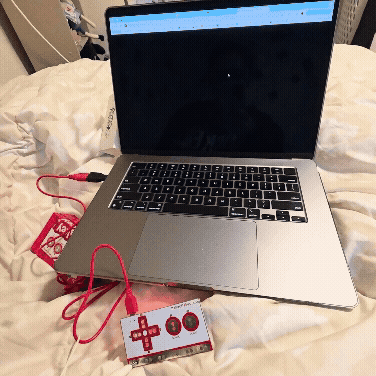
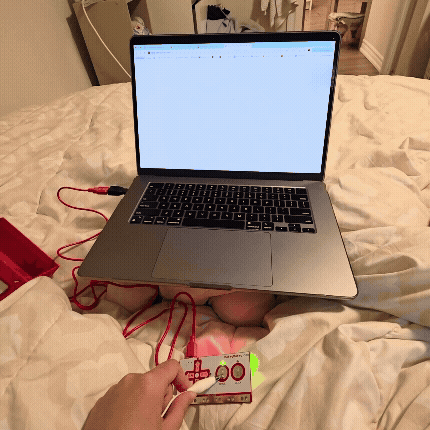
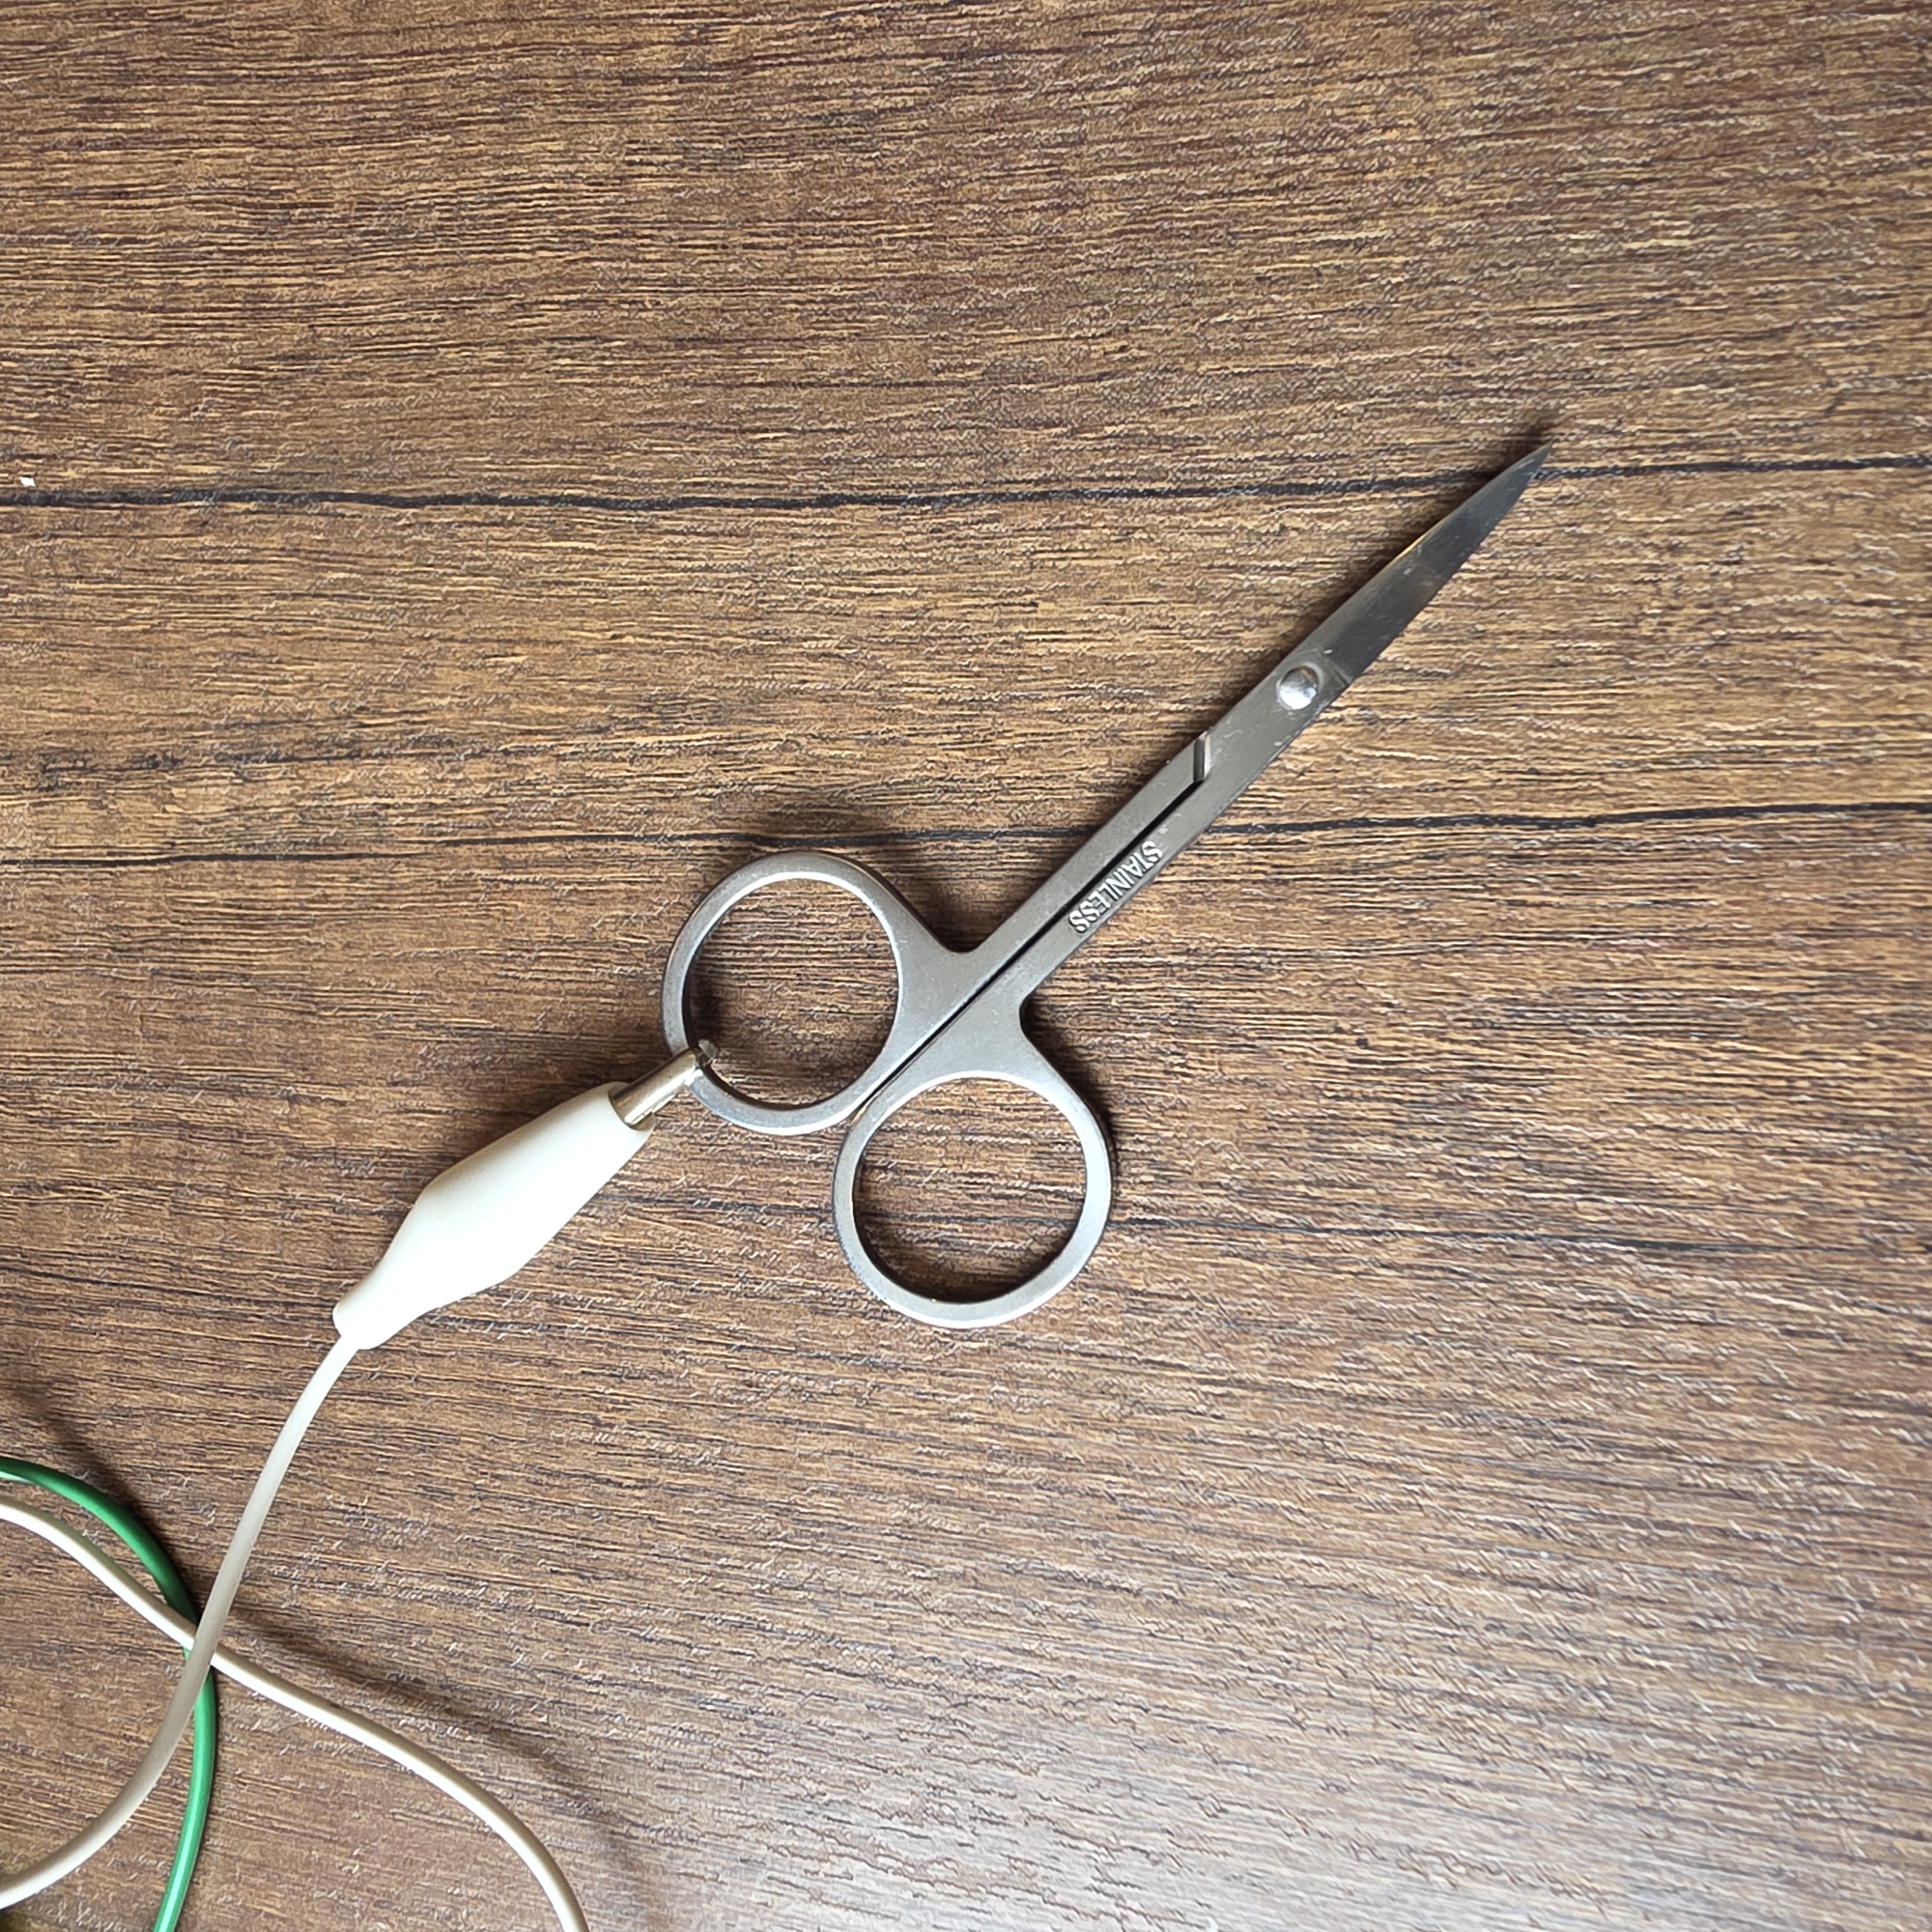
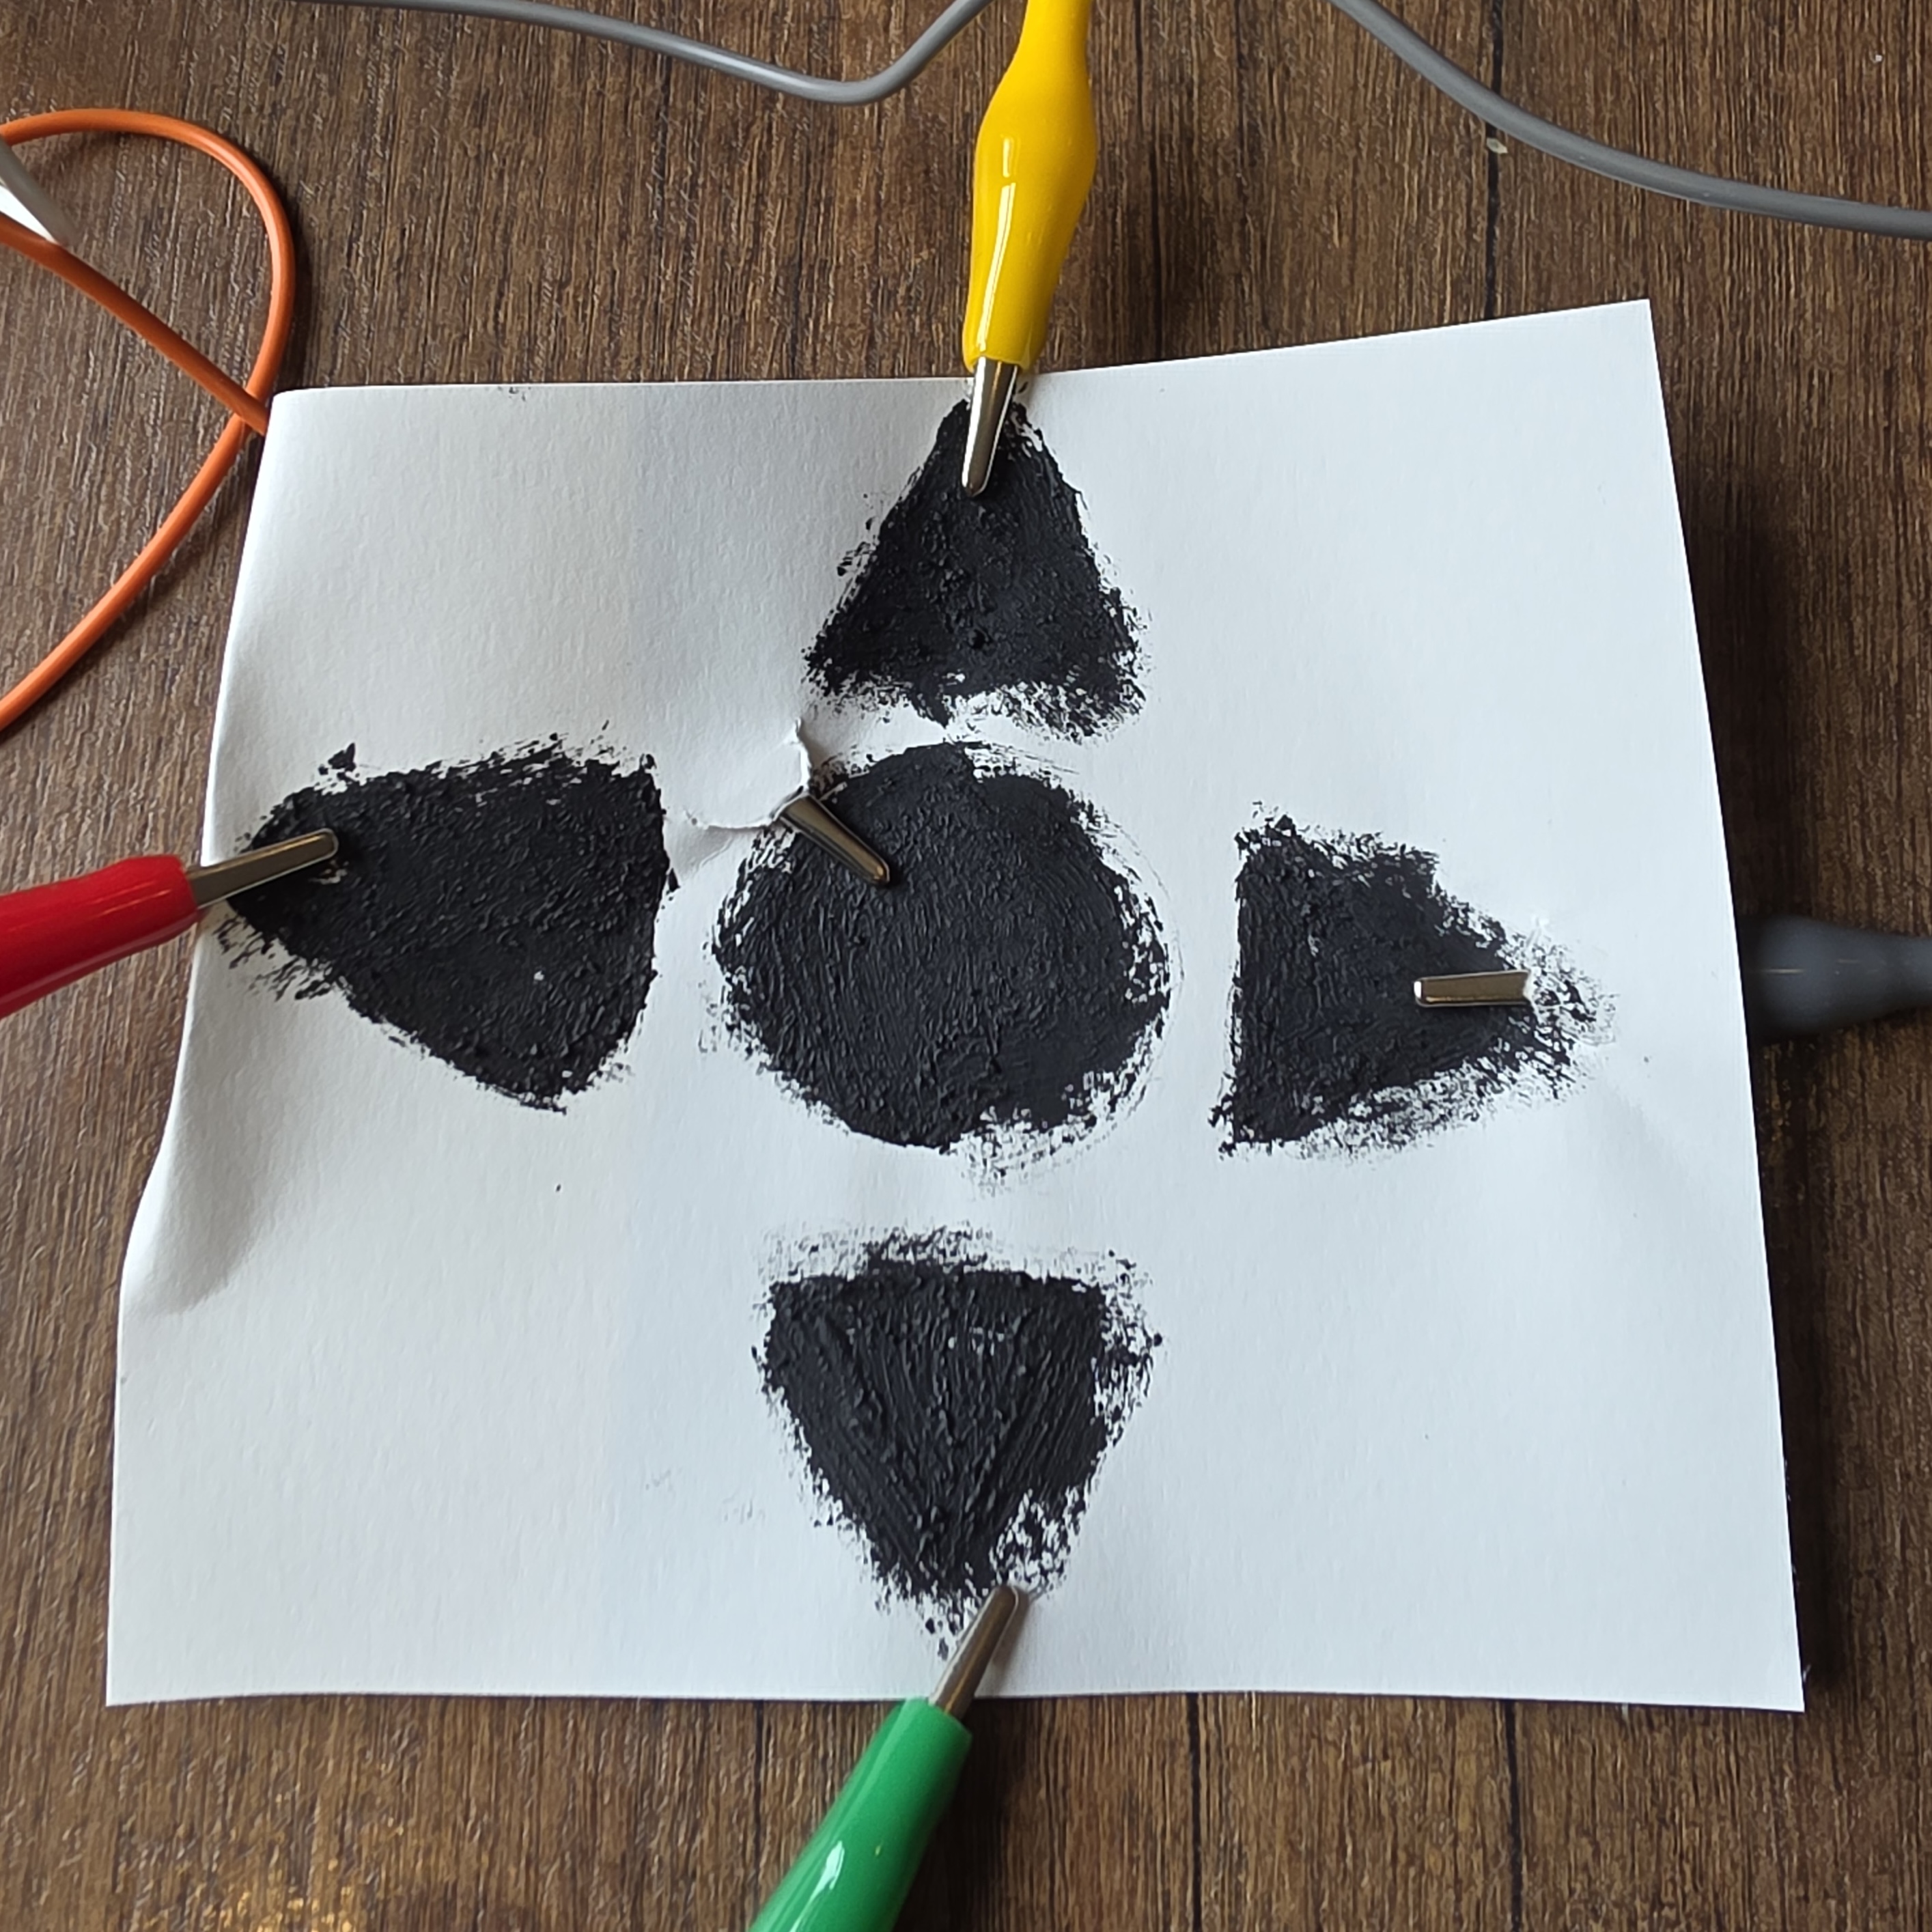
Exploring P5 code with incorporating the Makey Makey
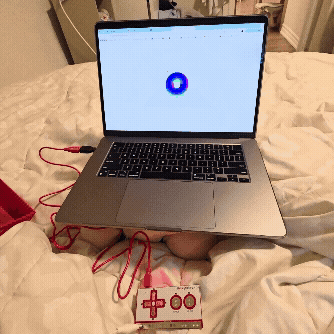
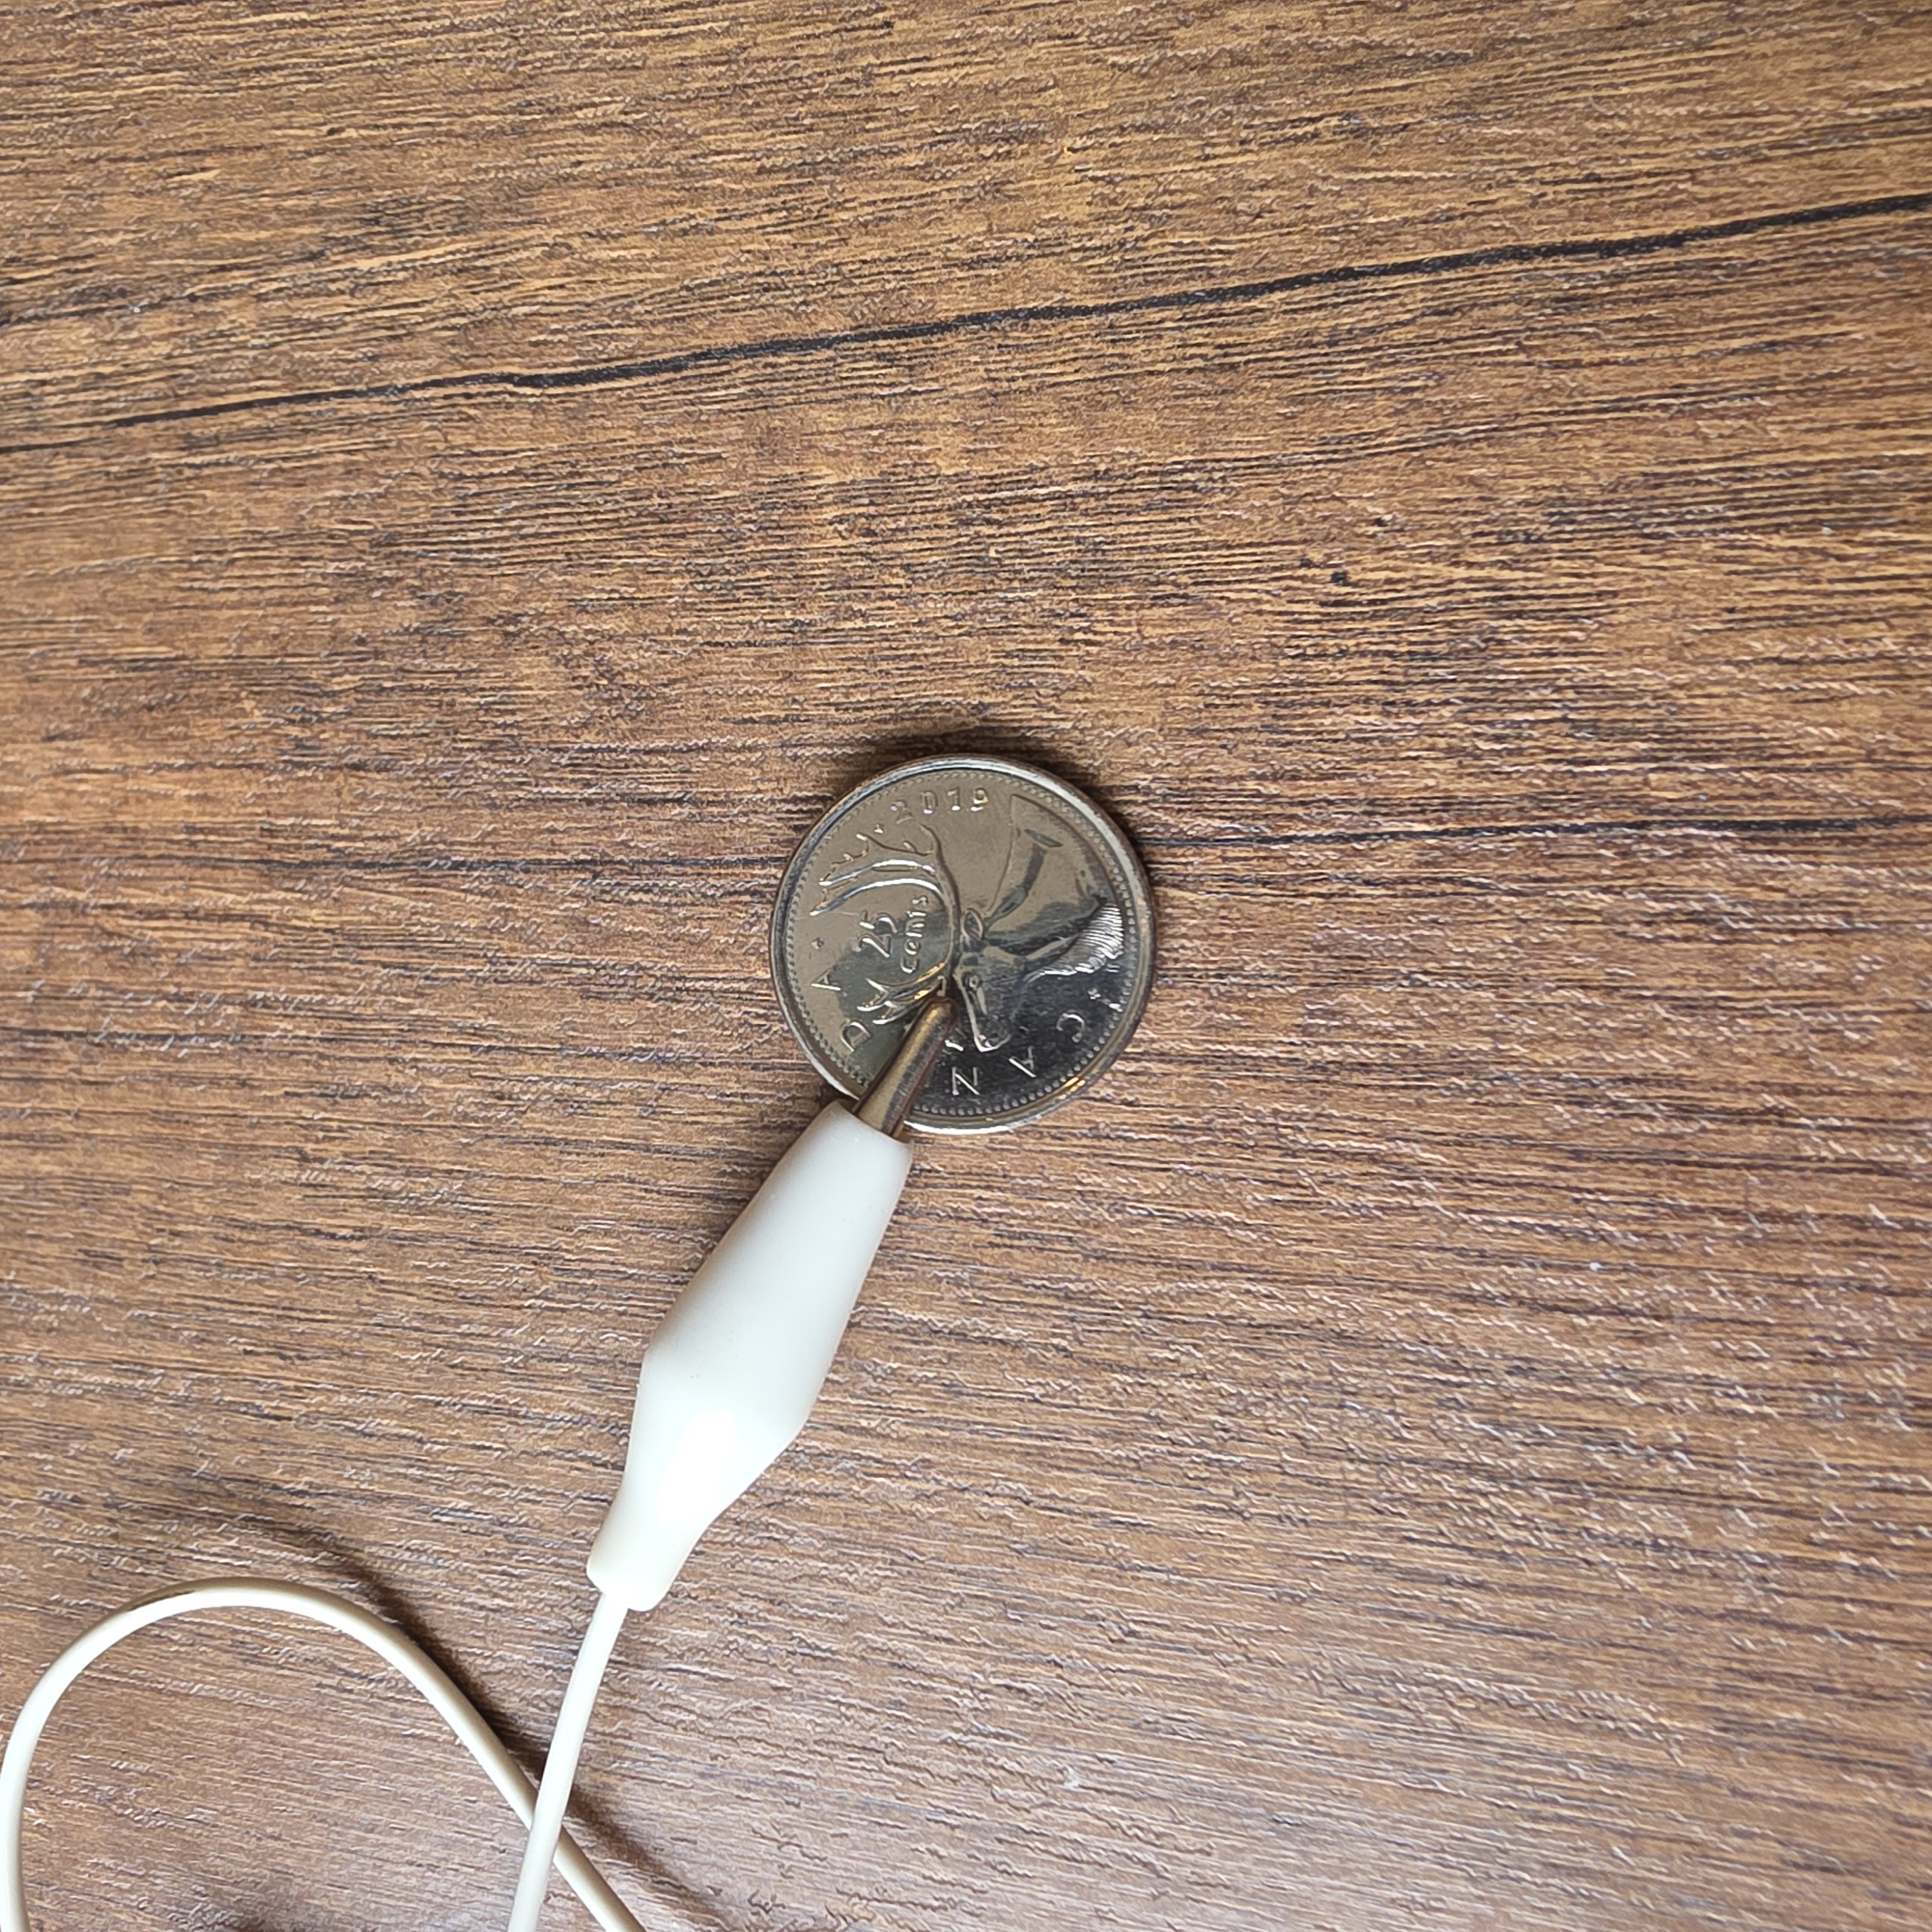
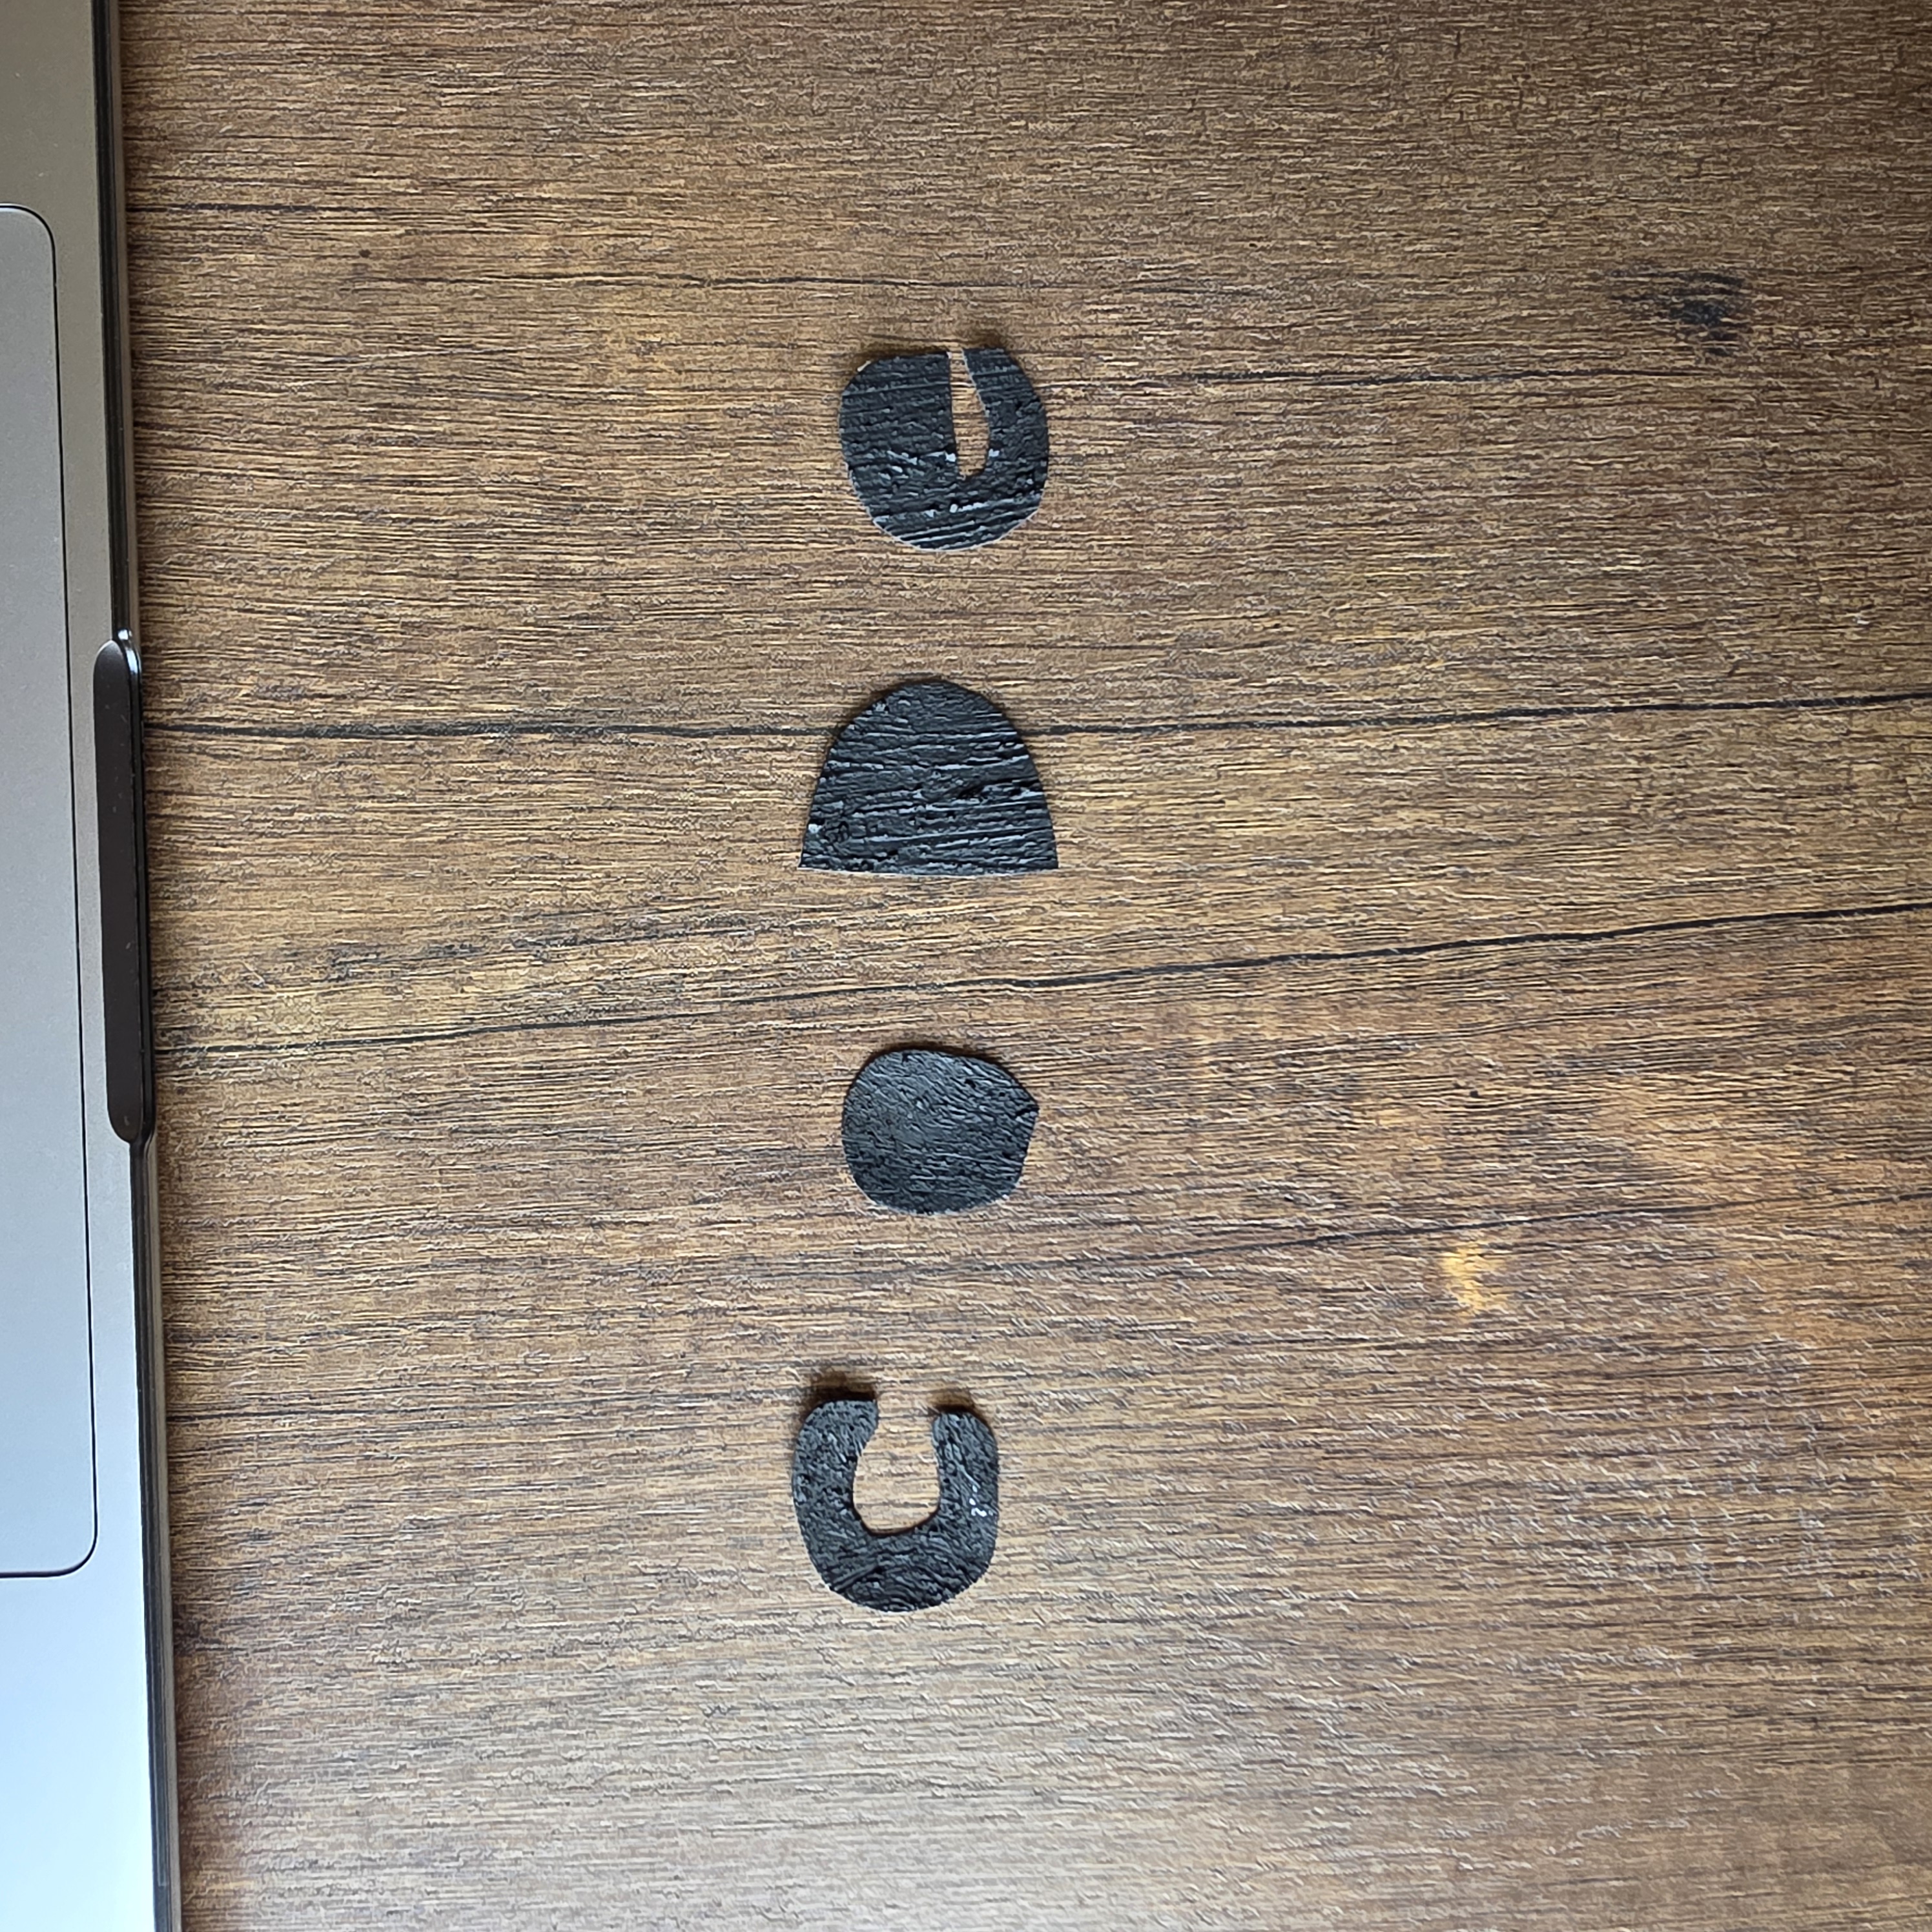
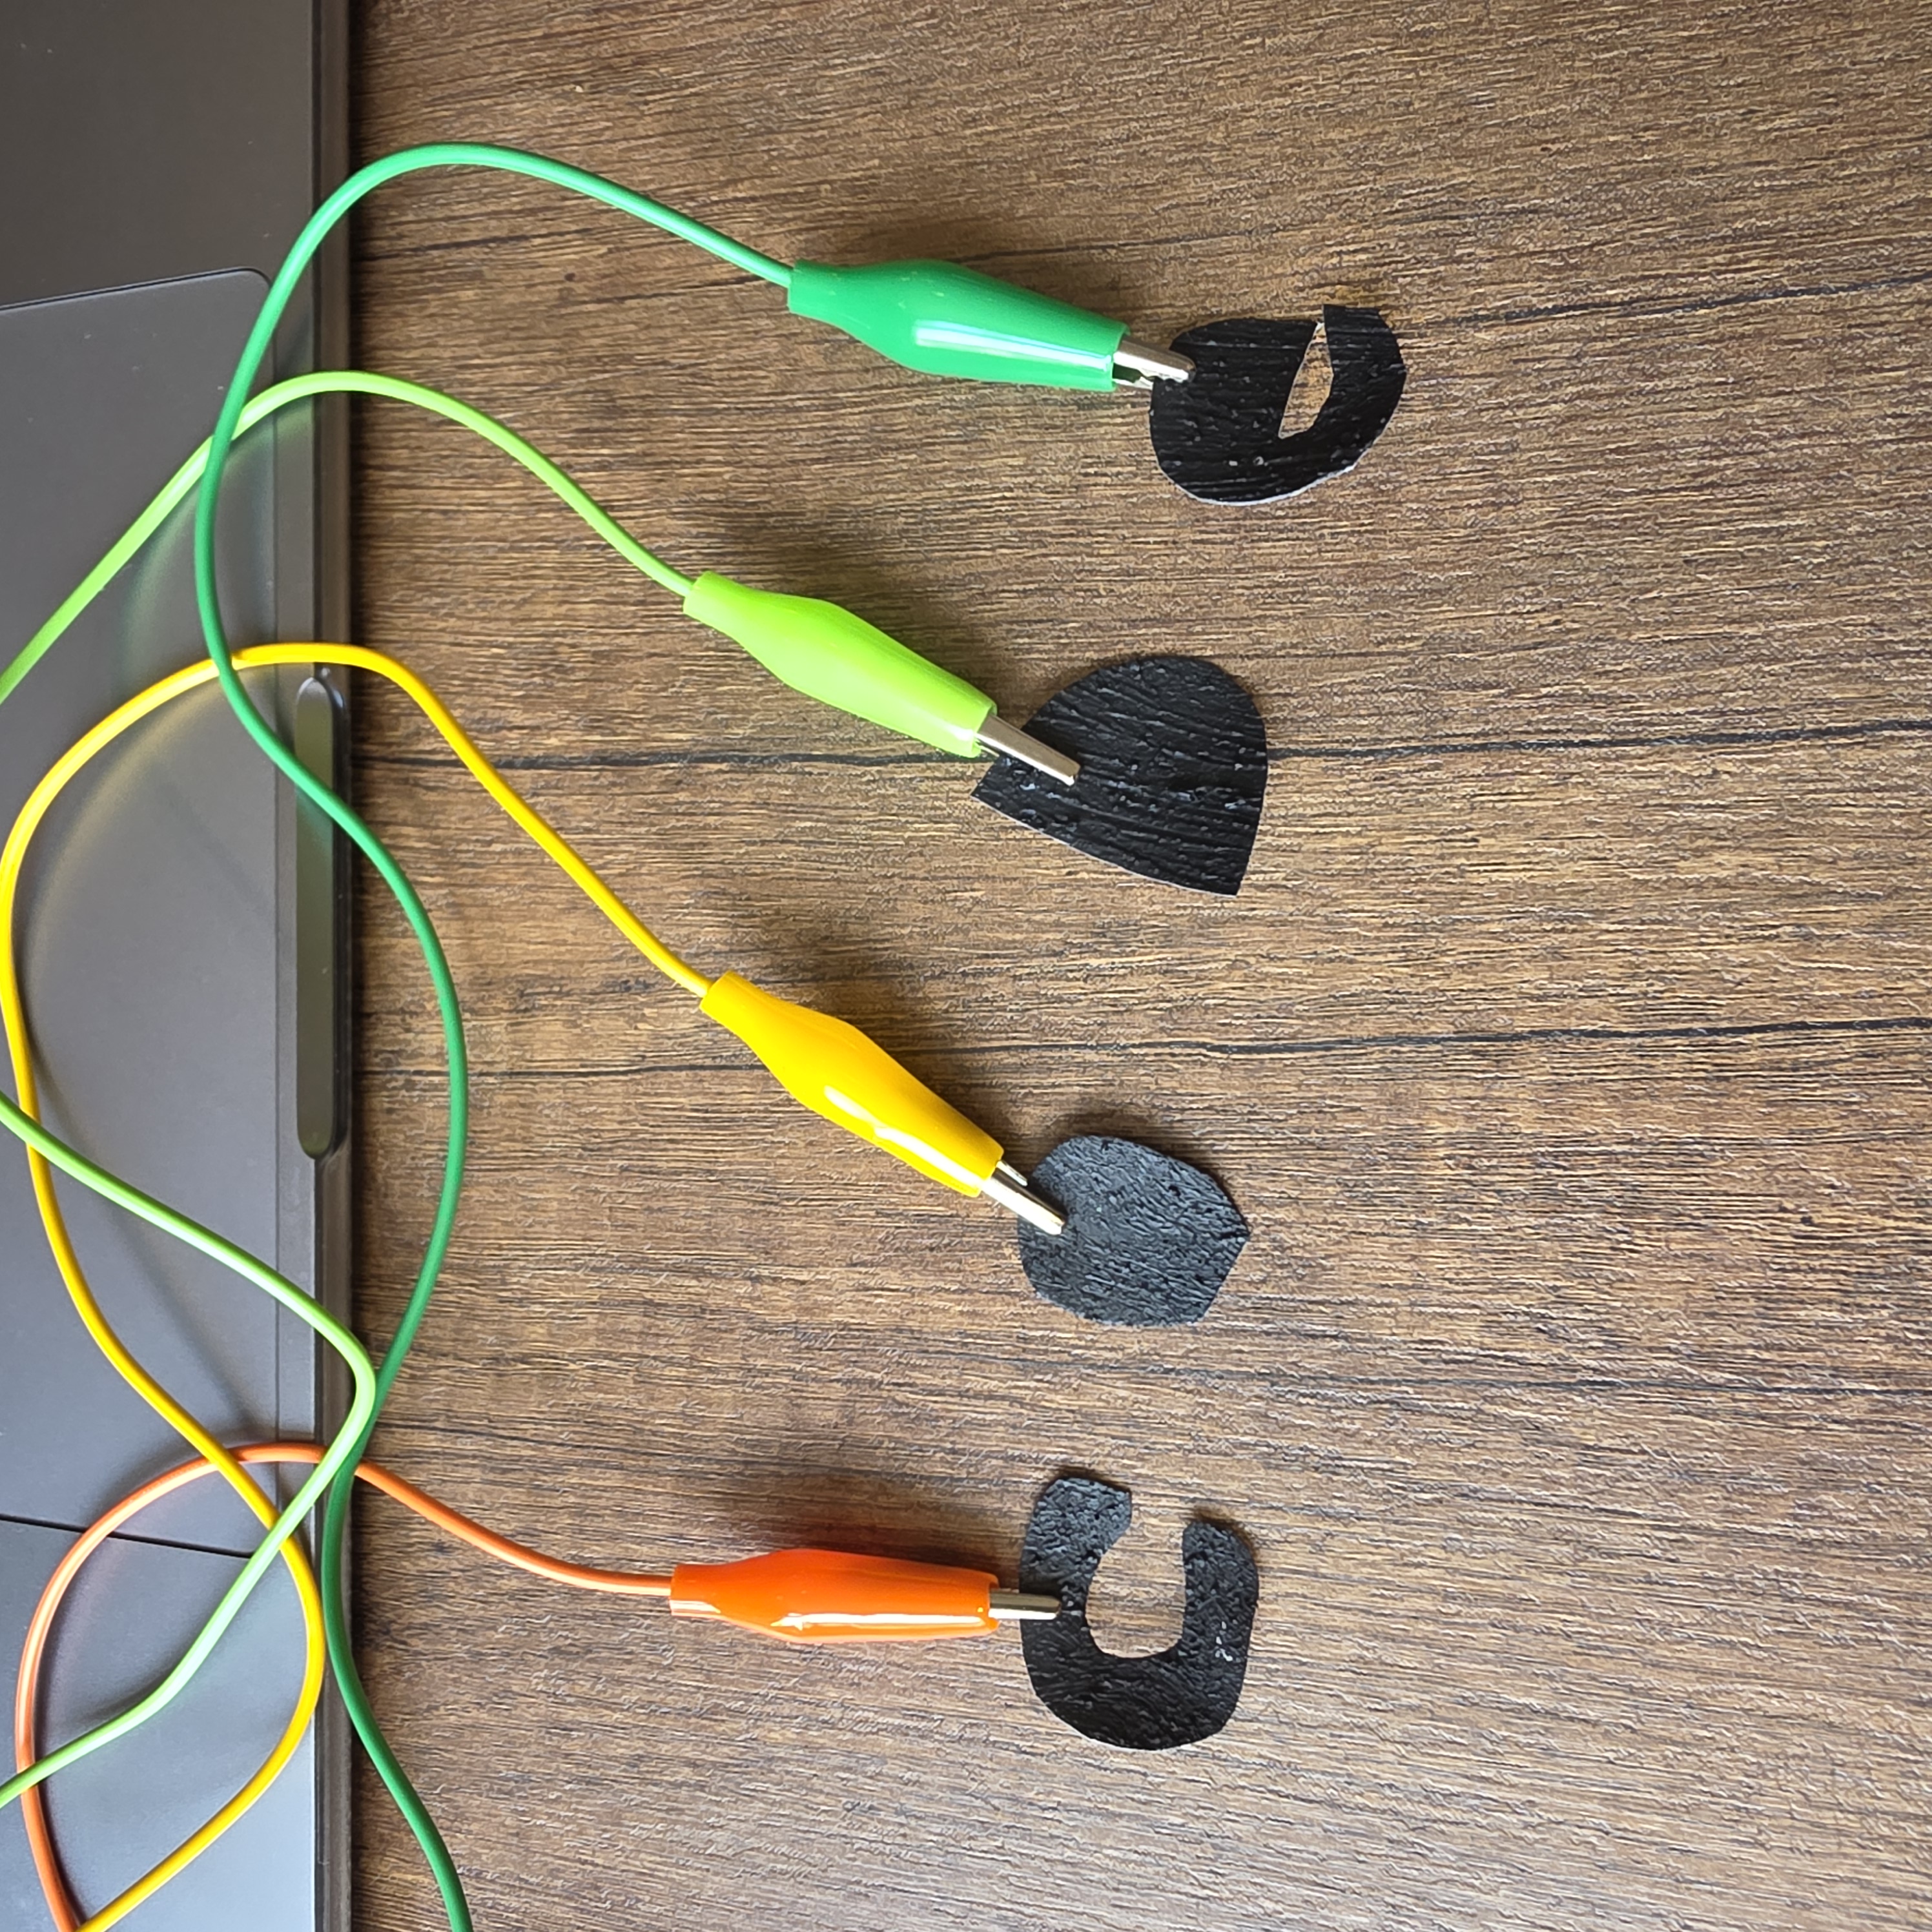
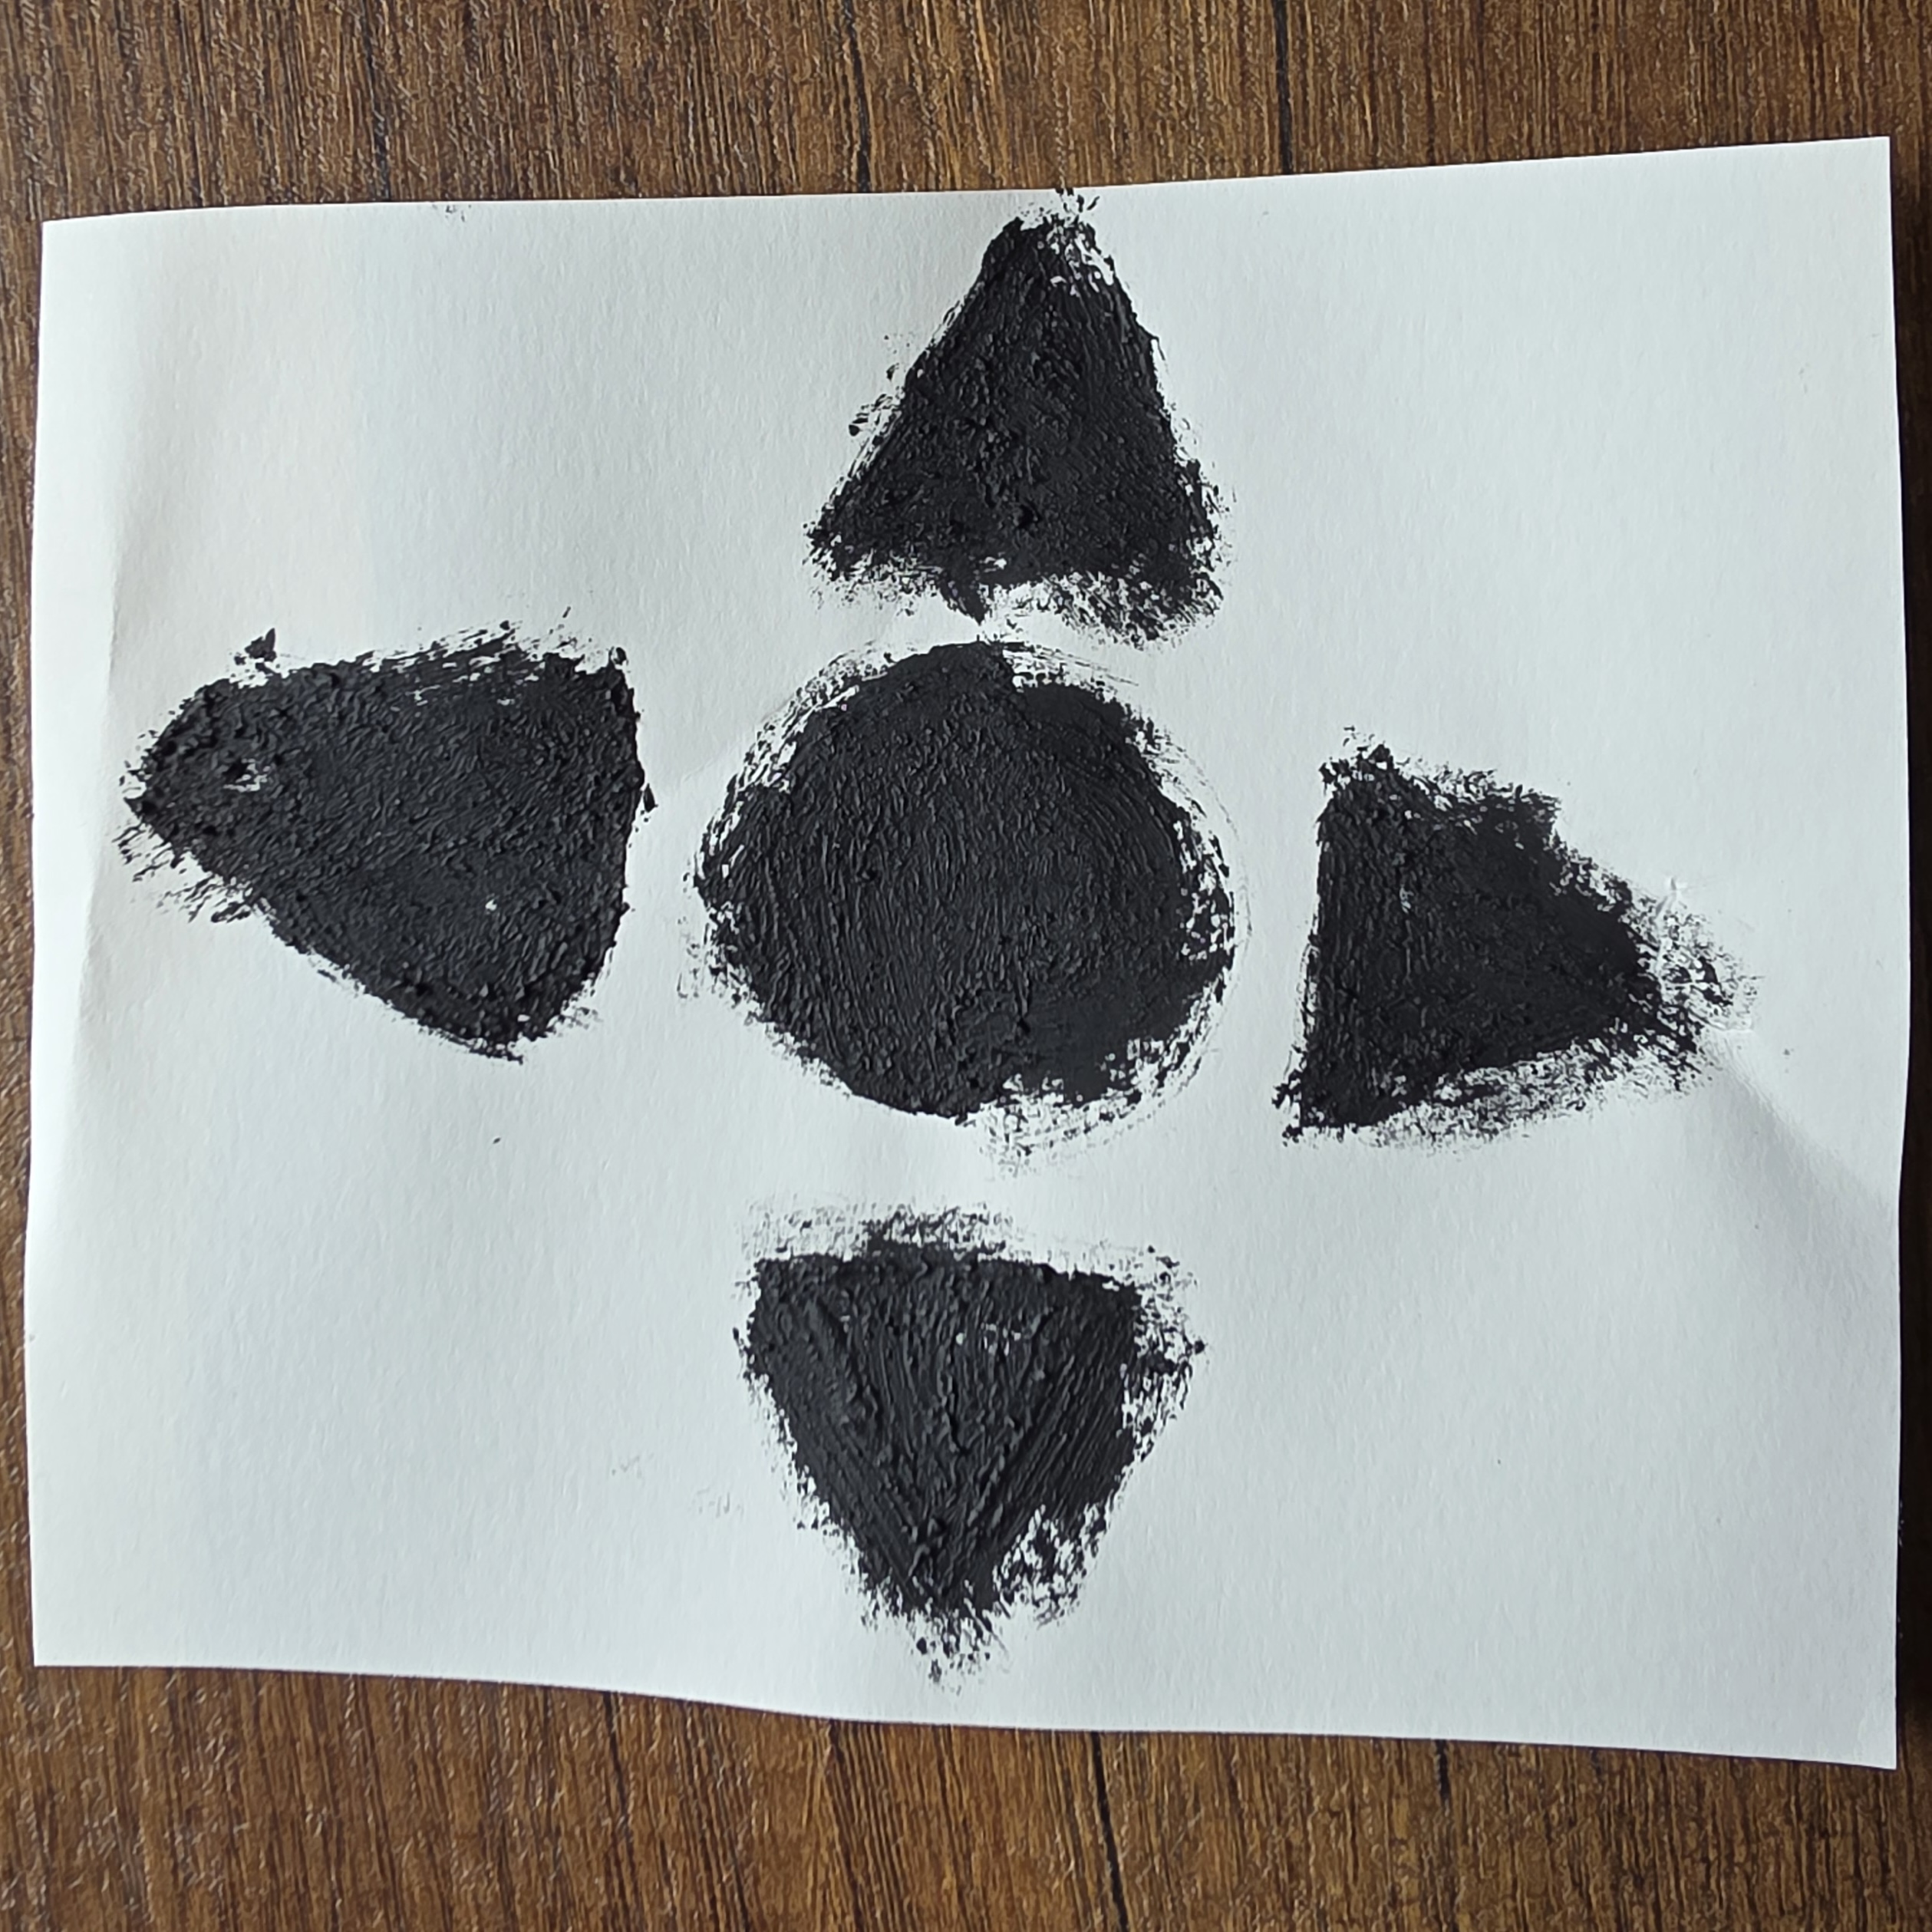
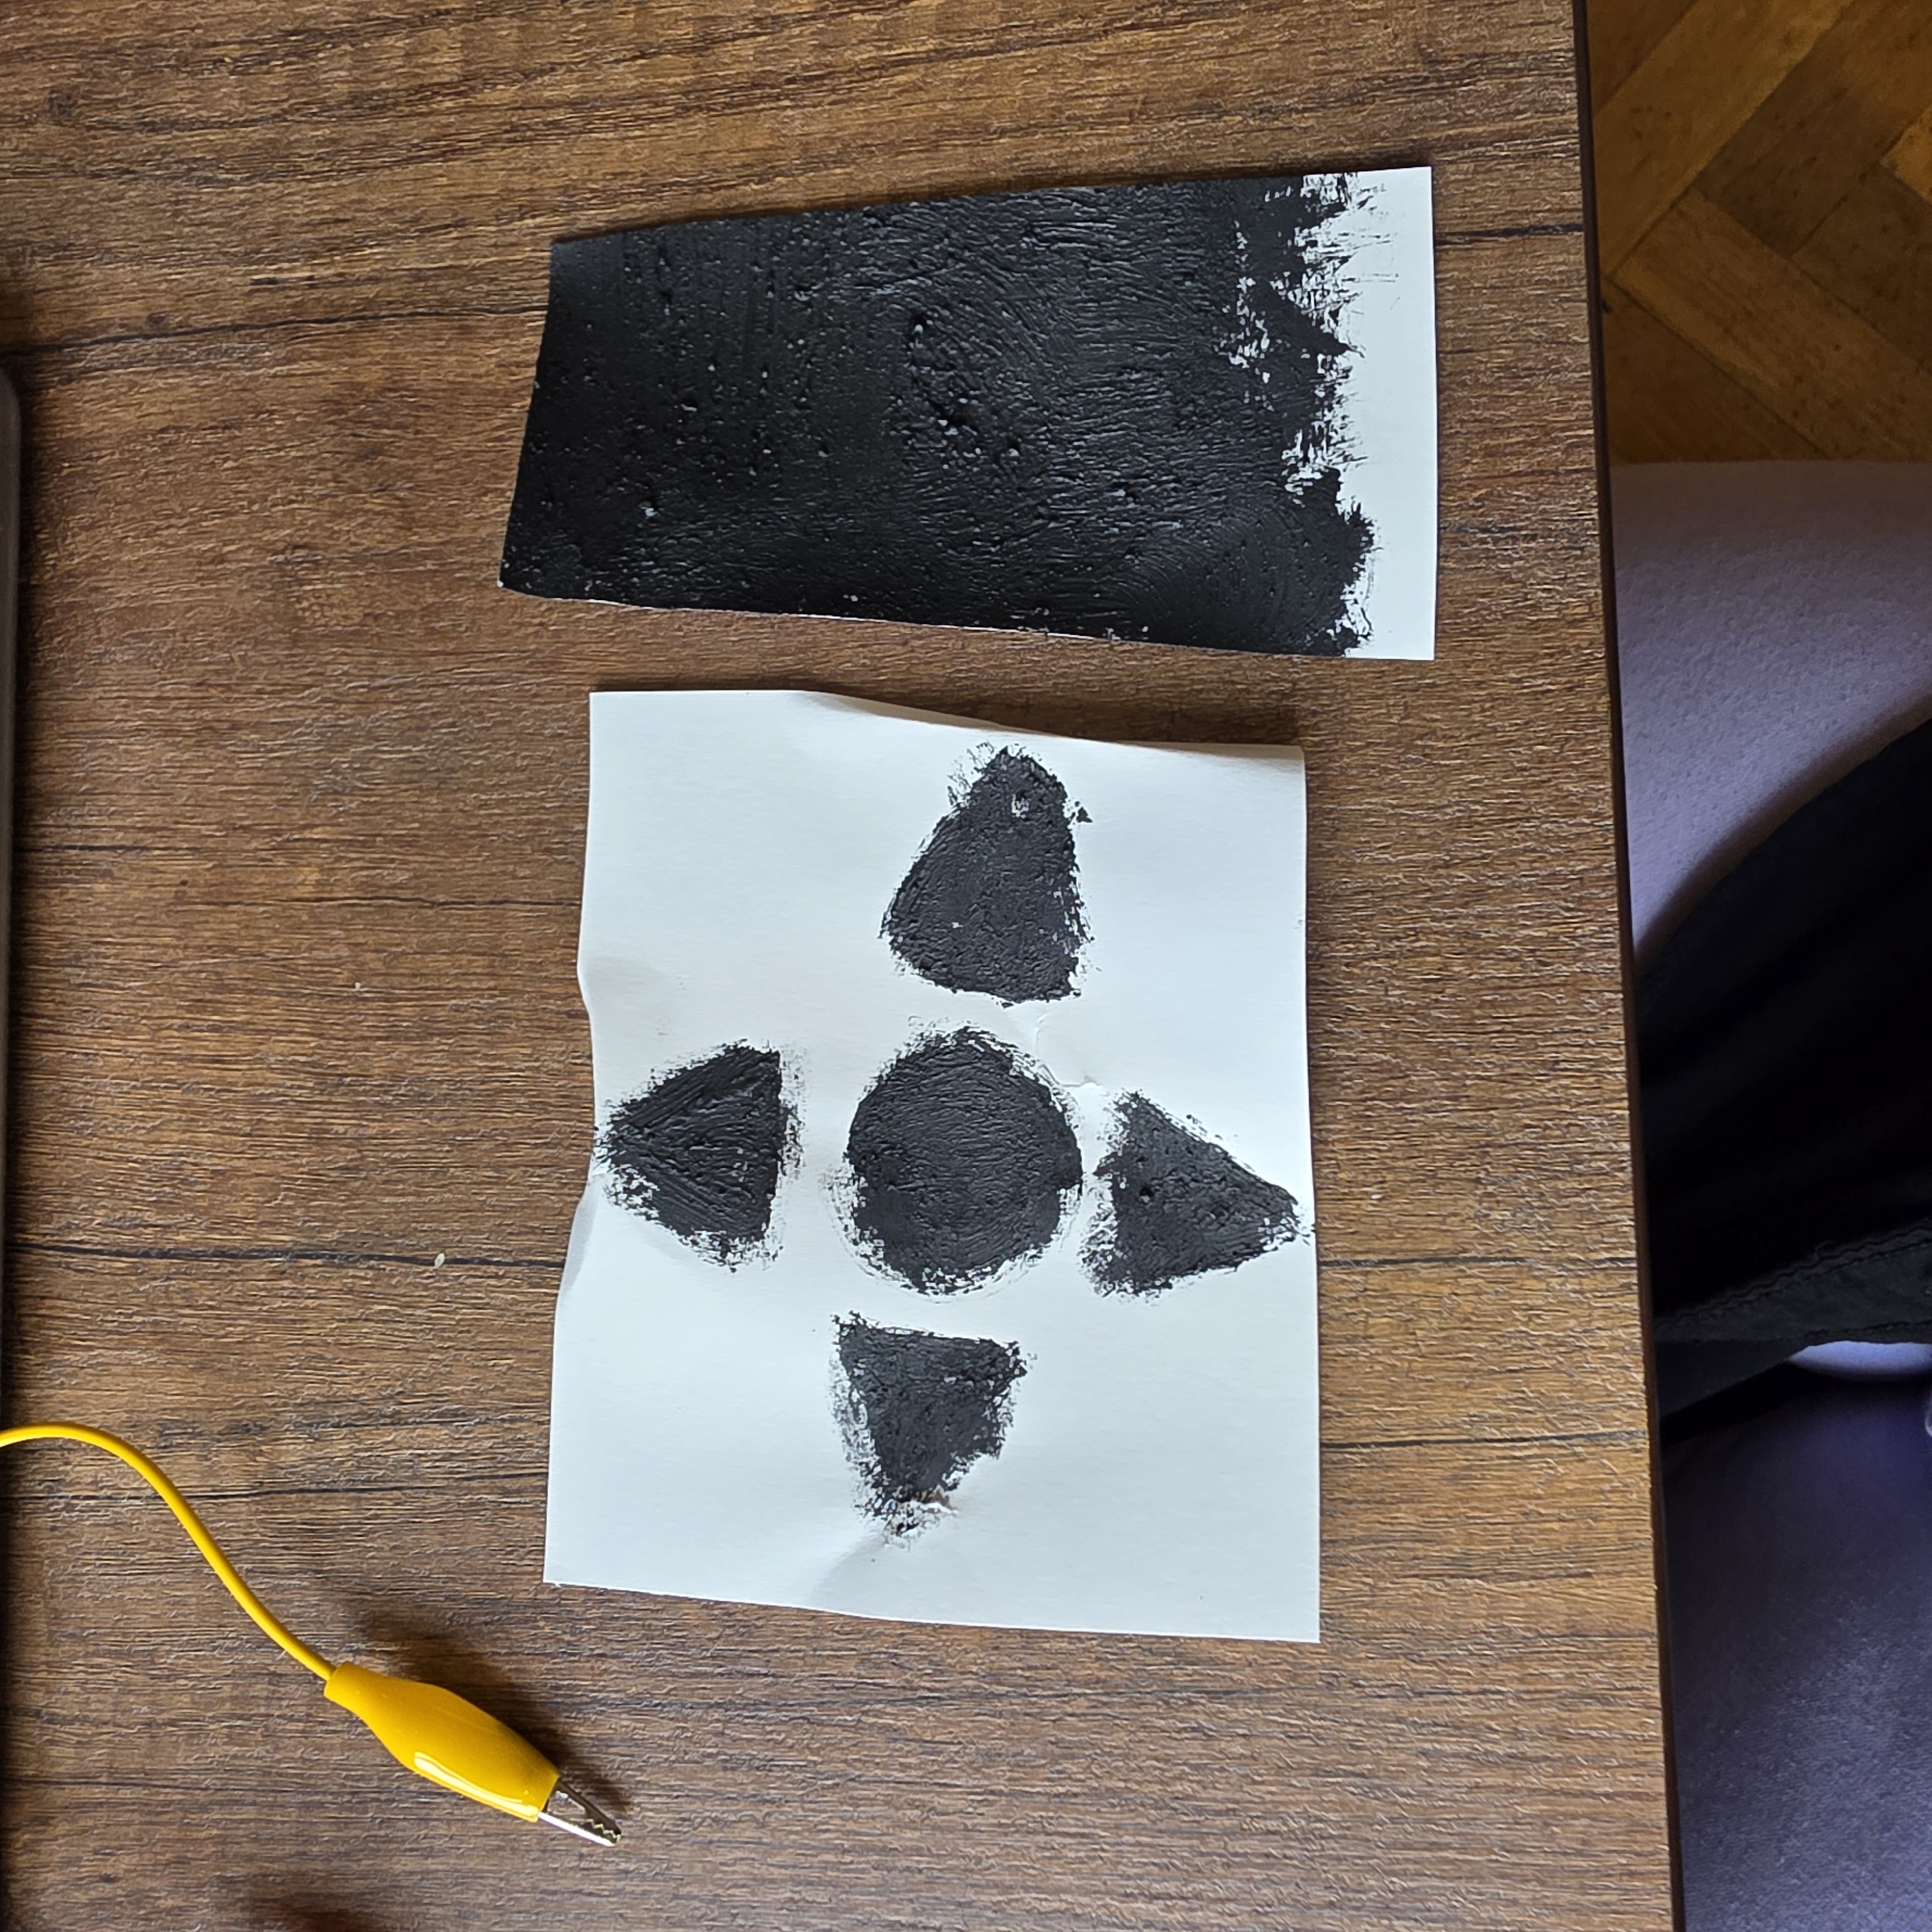
Activity 1
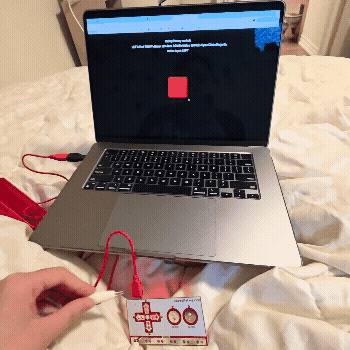
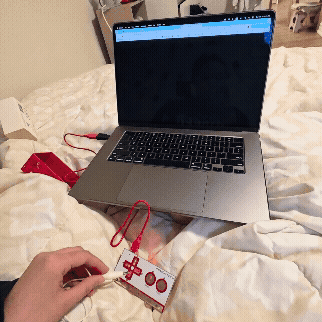
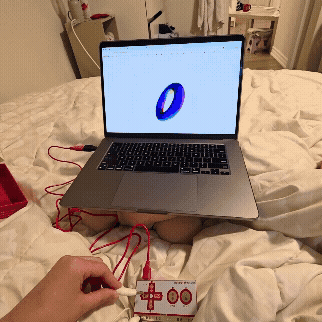
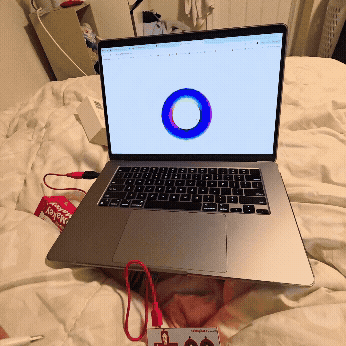
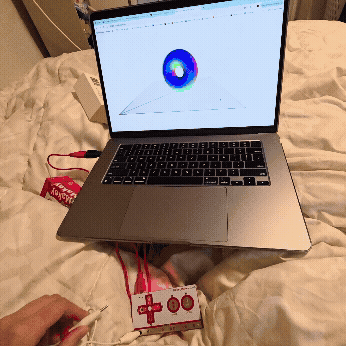
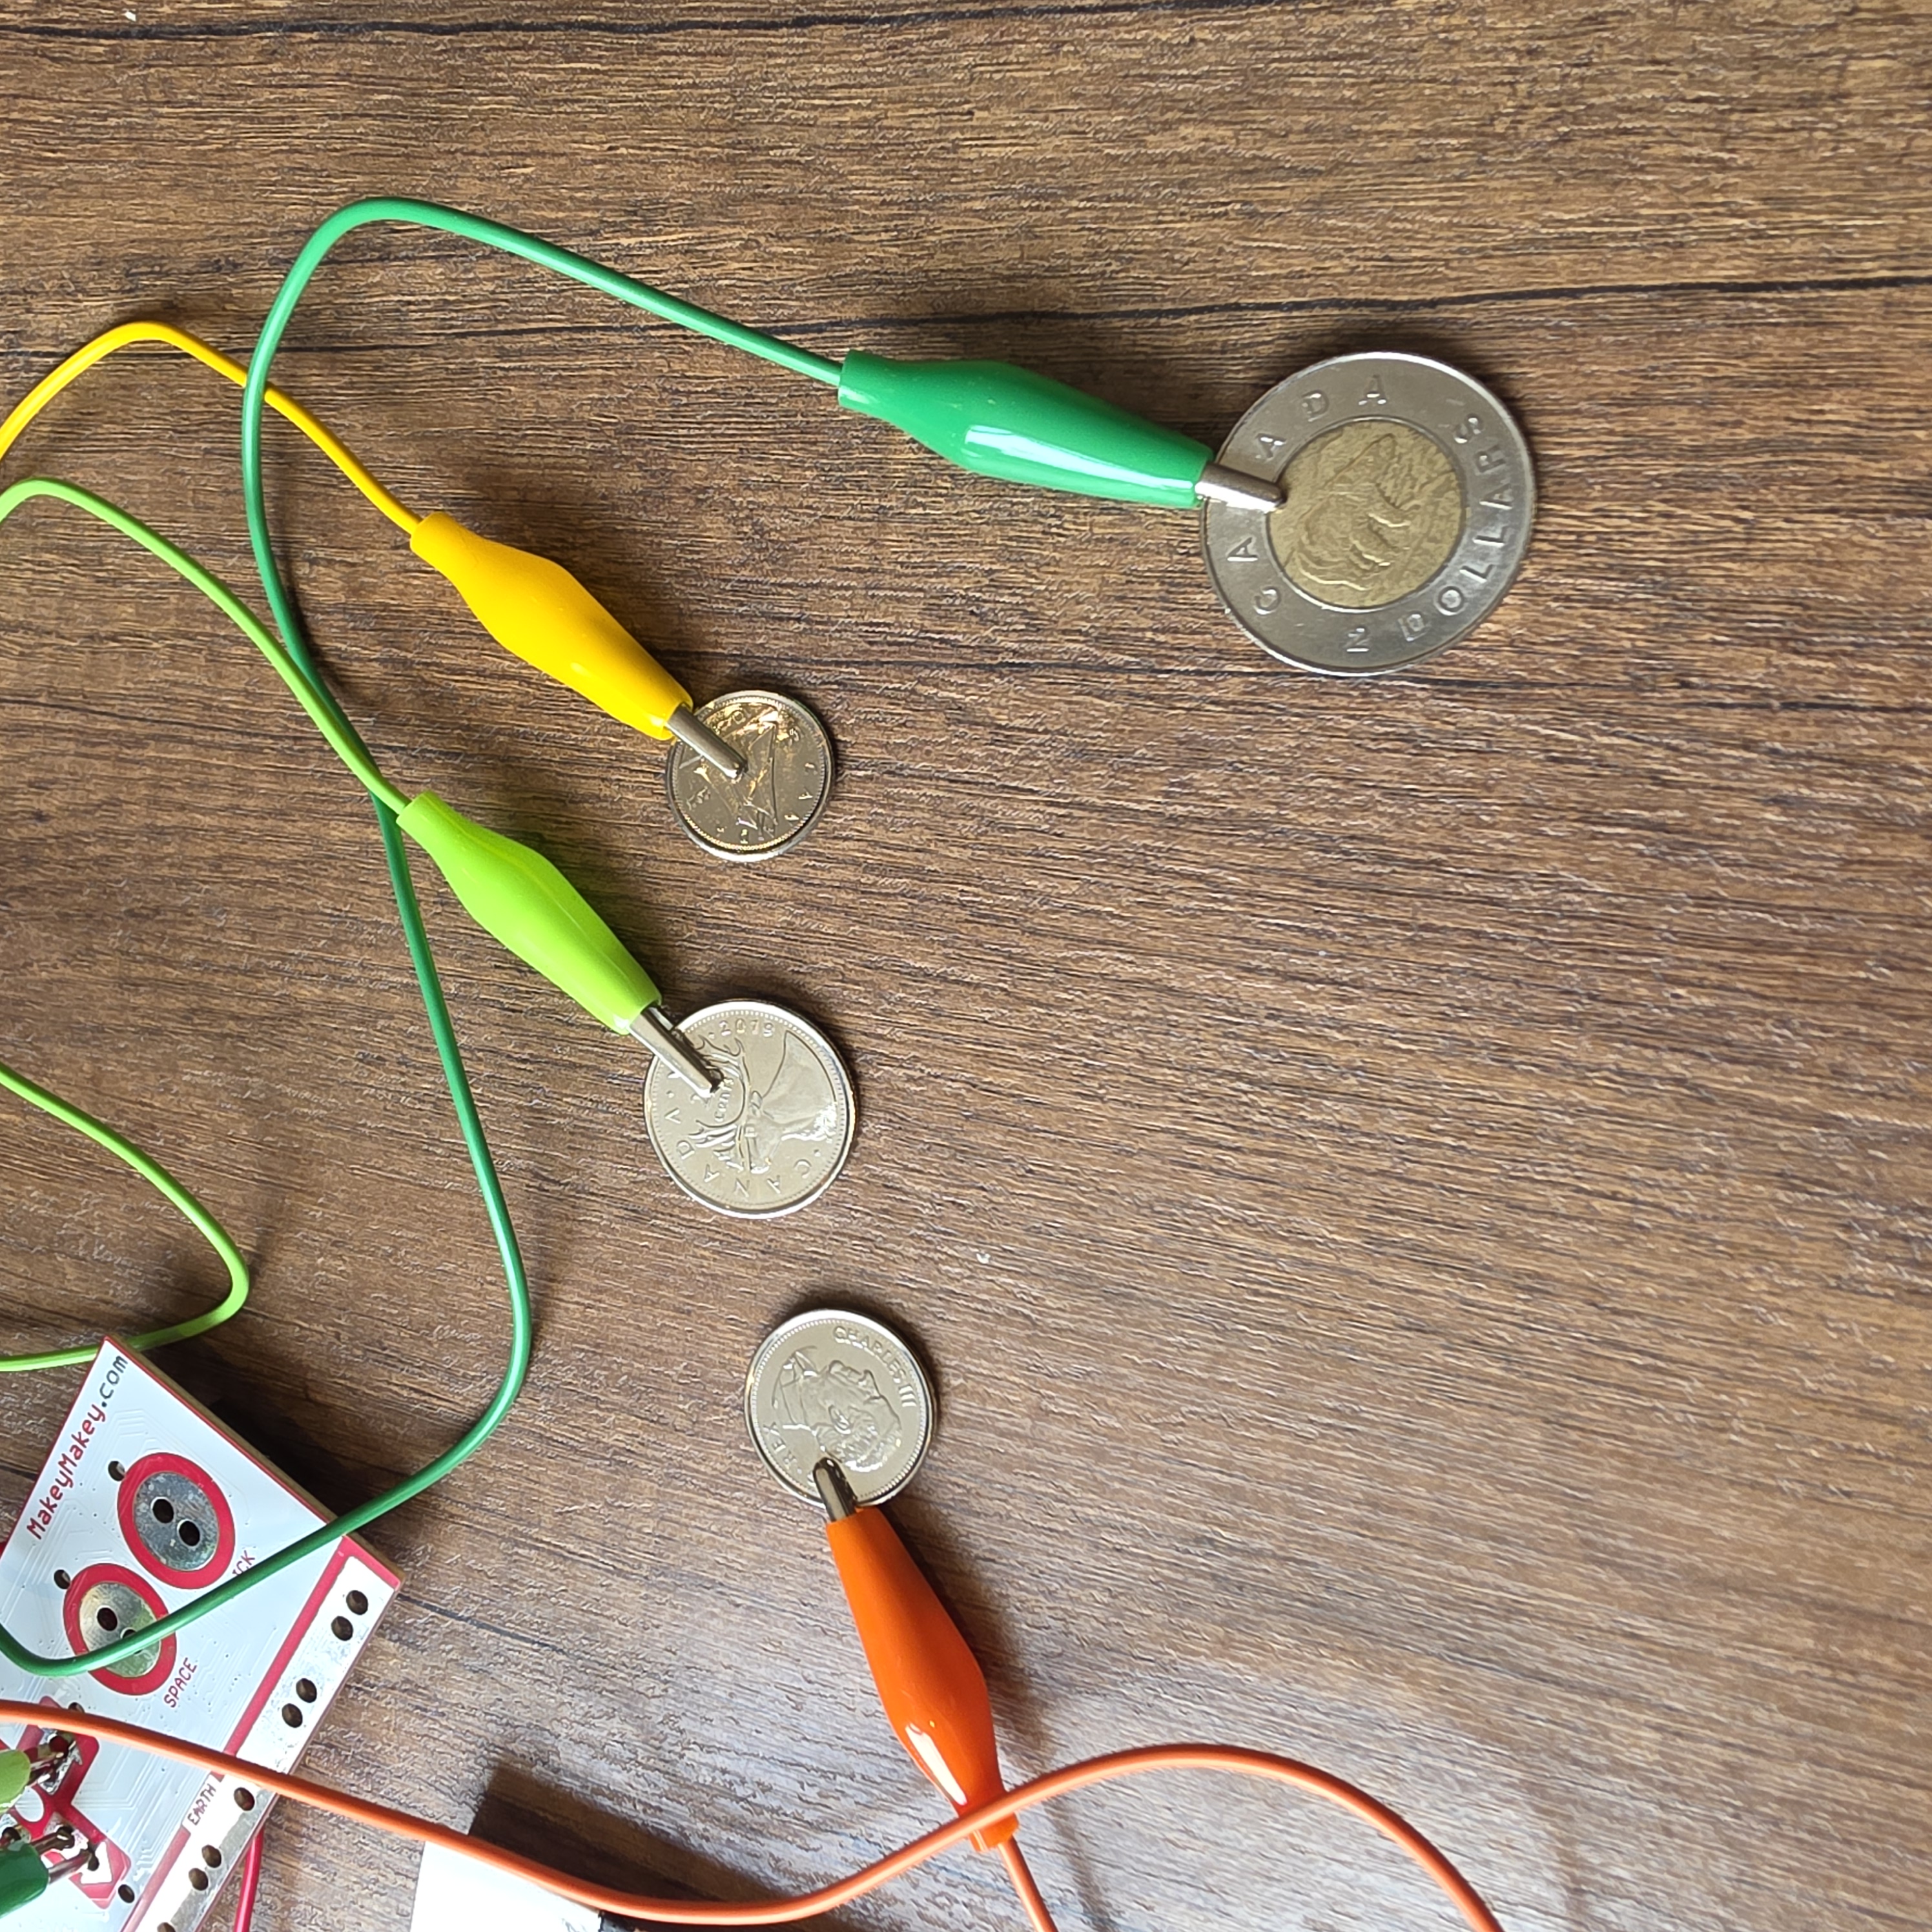
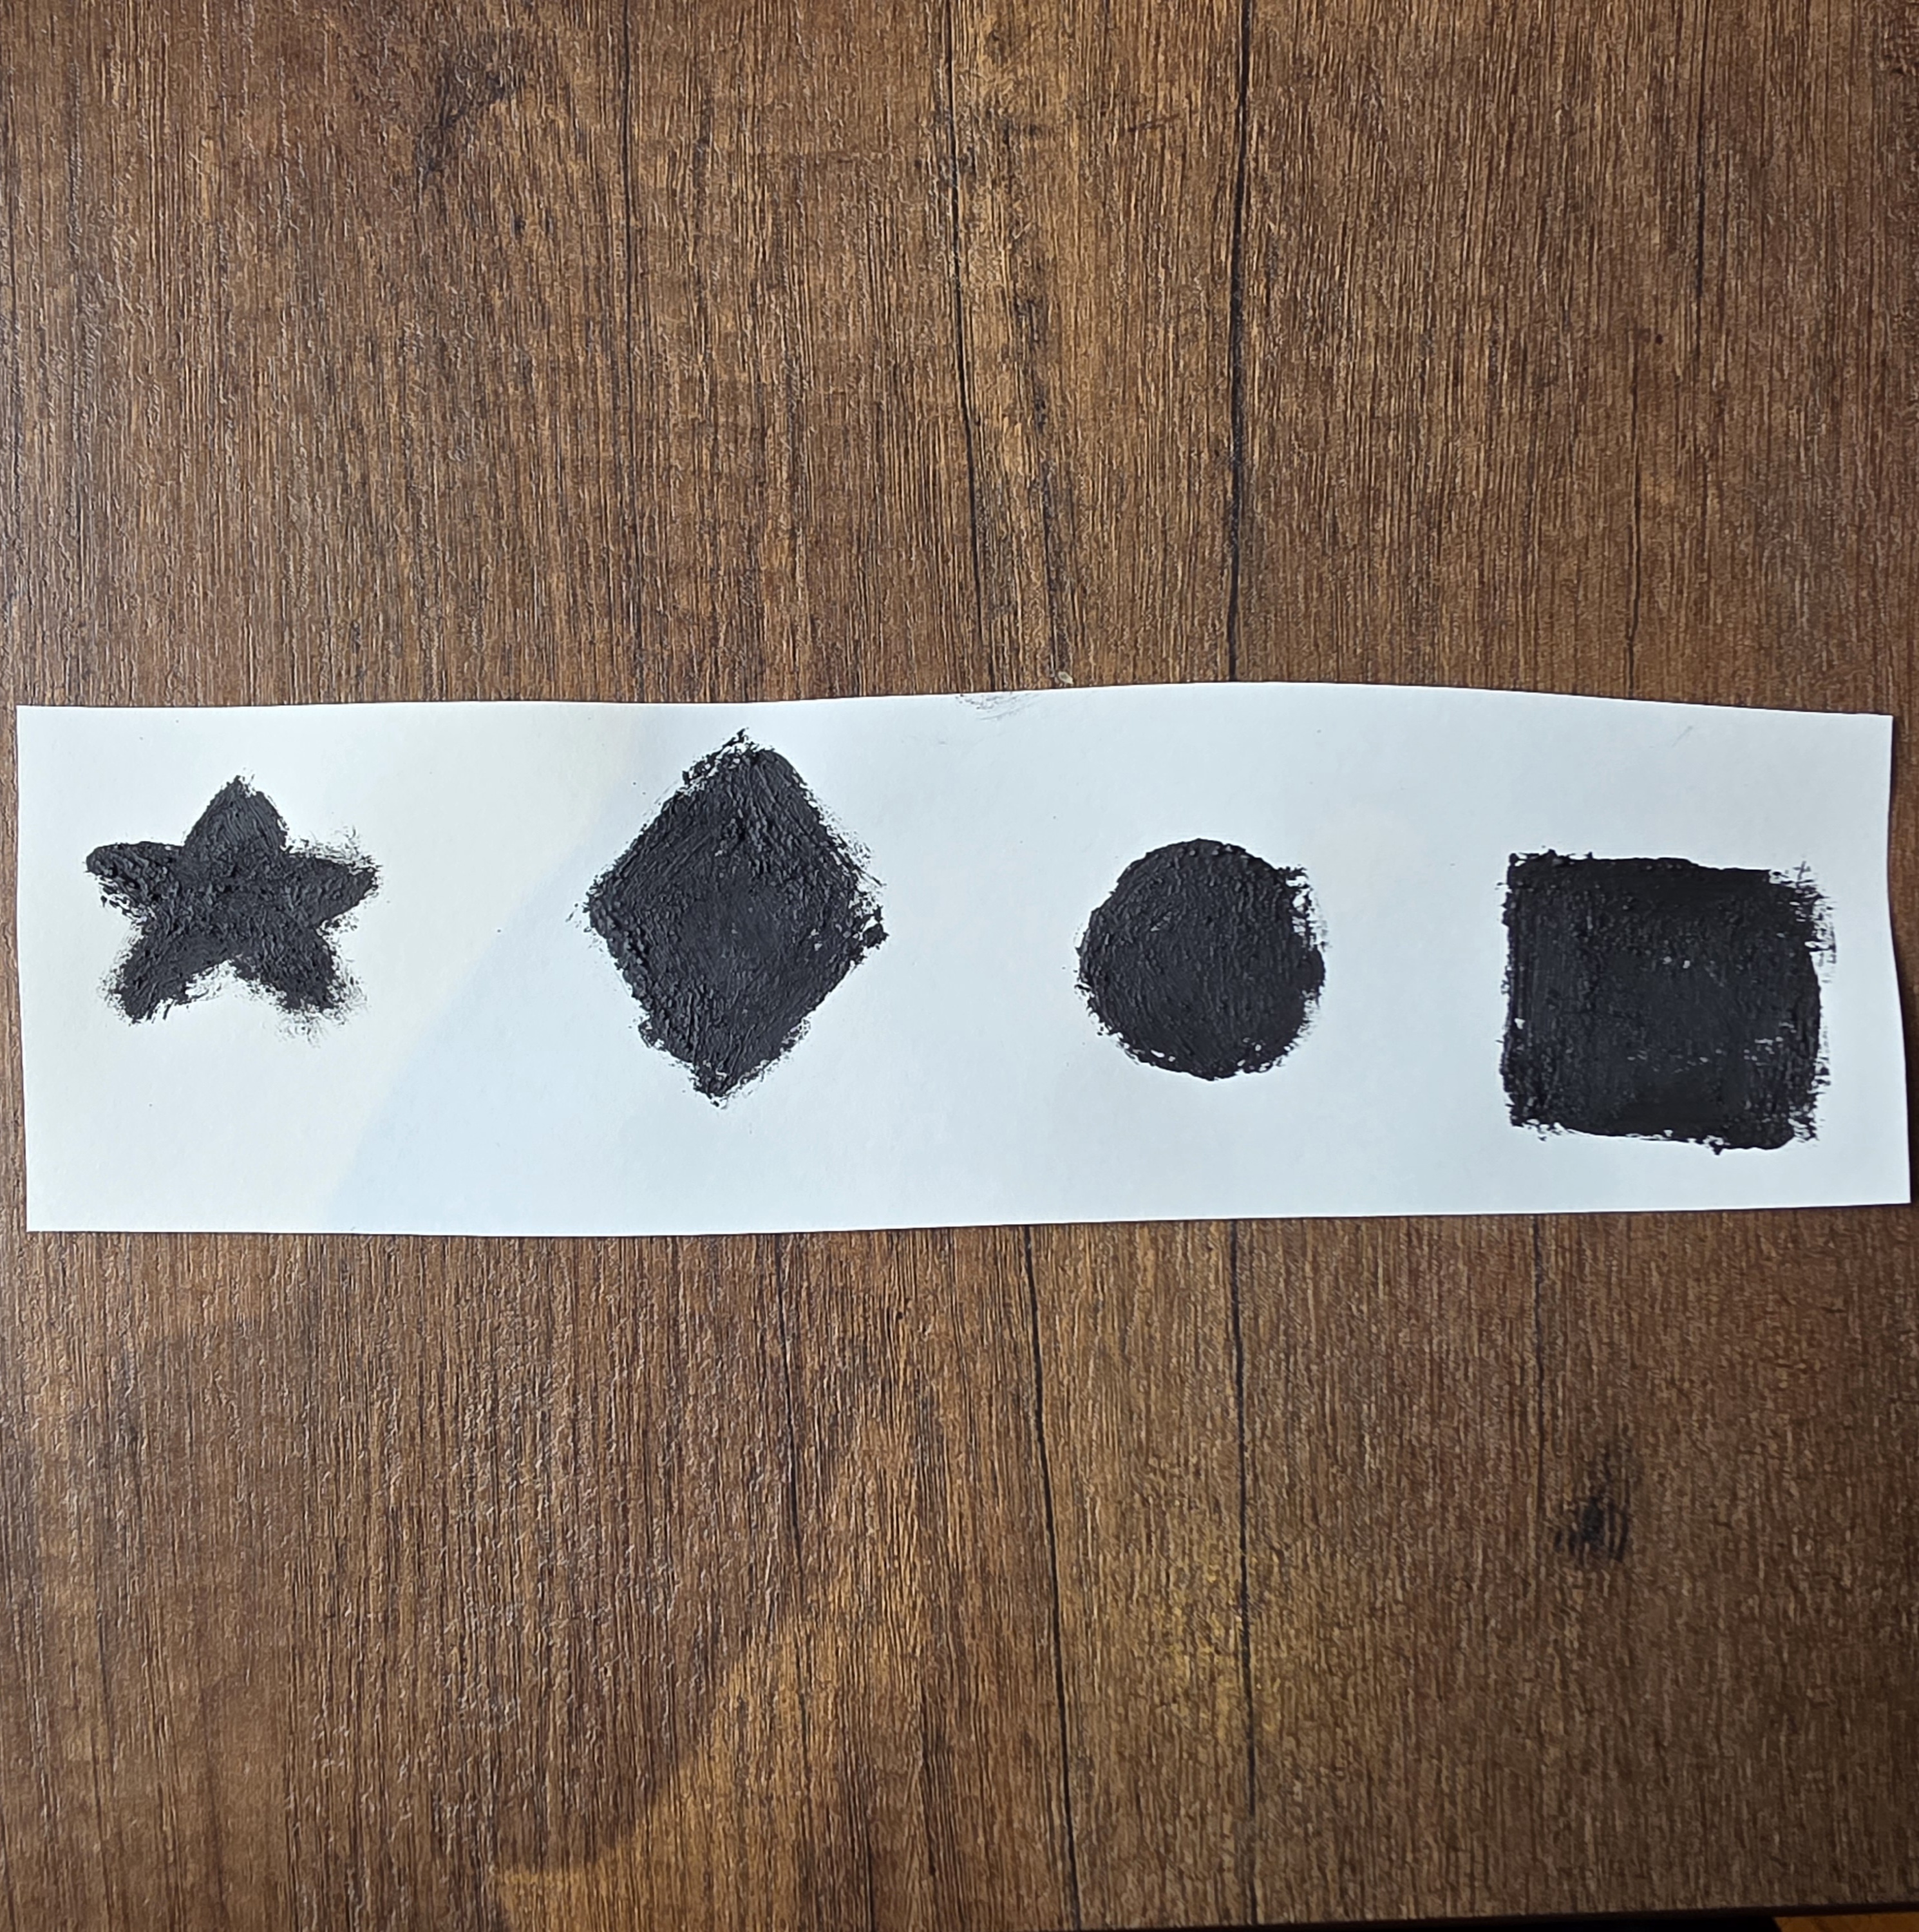
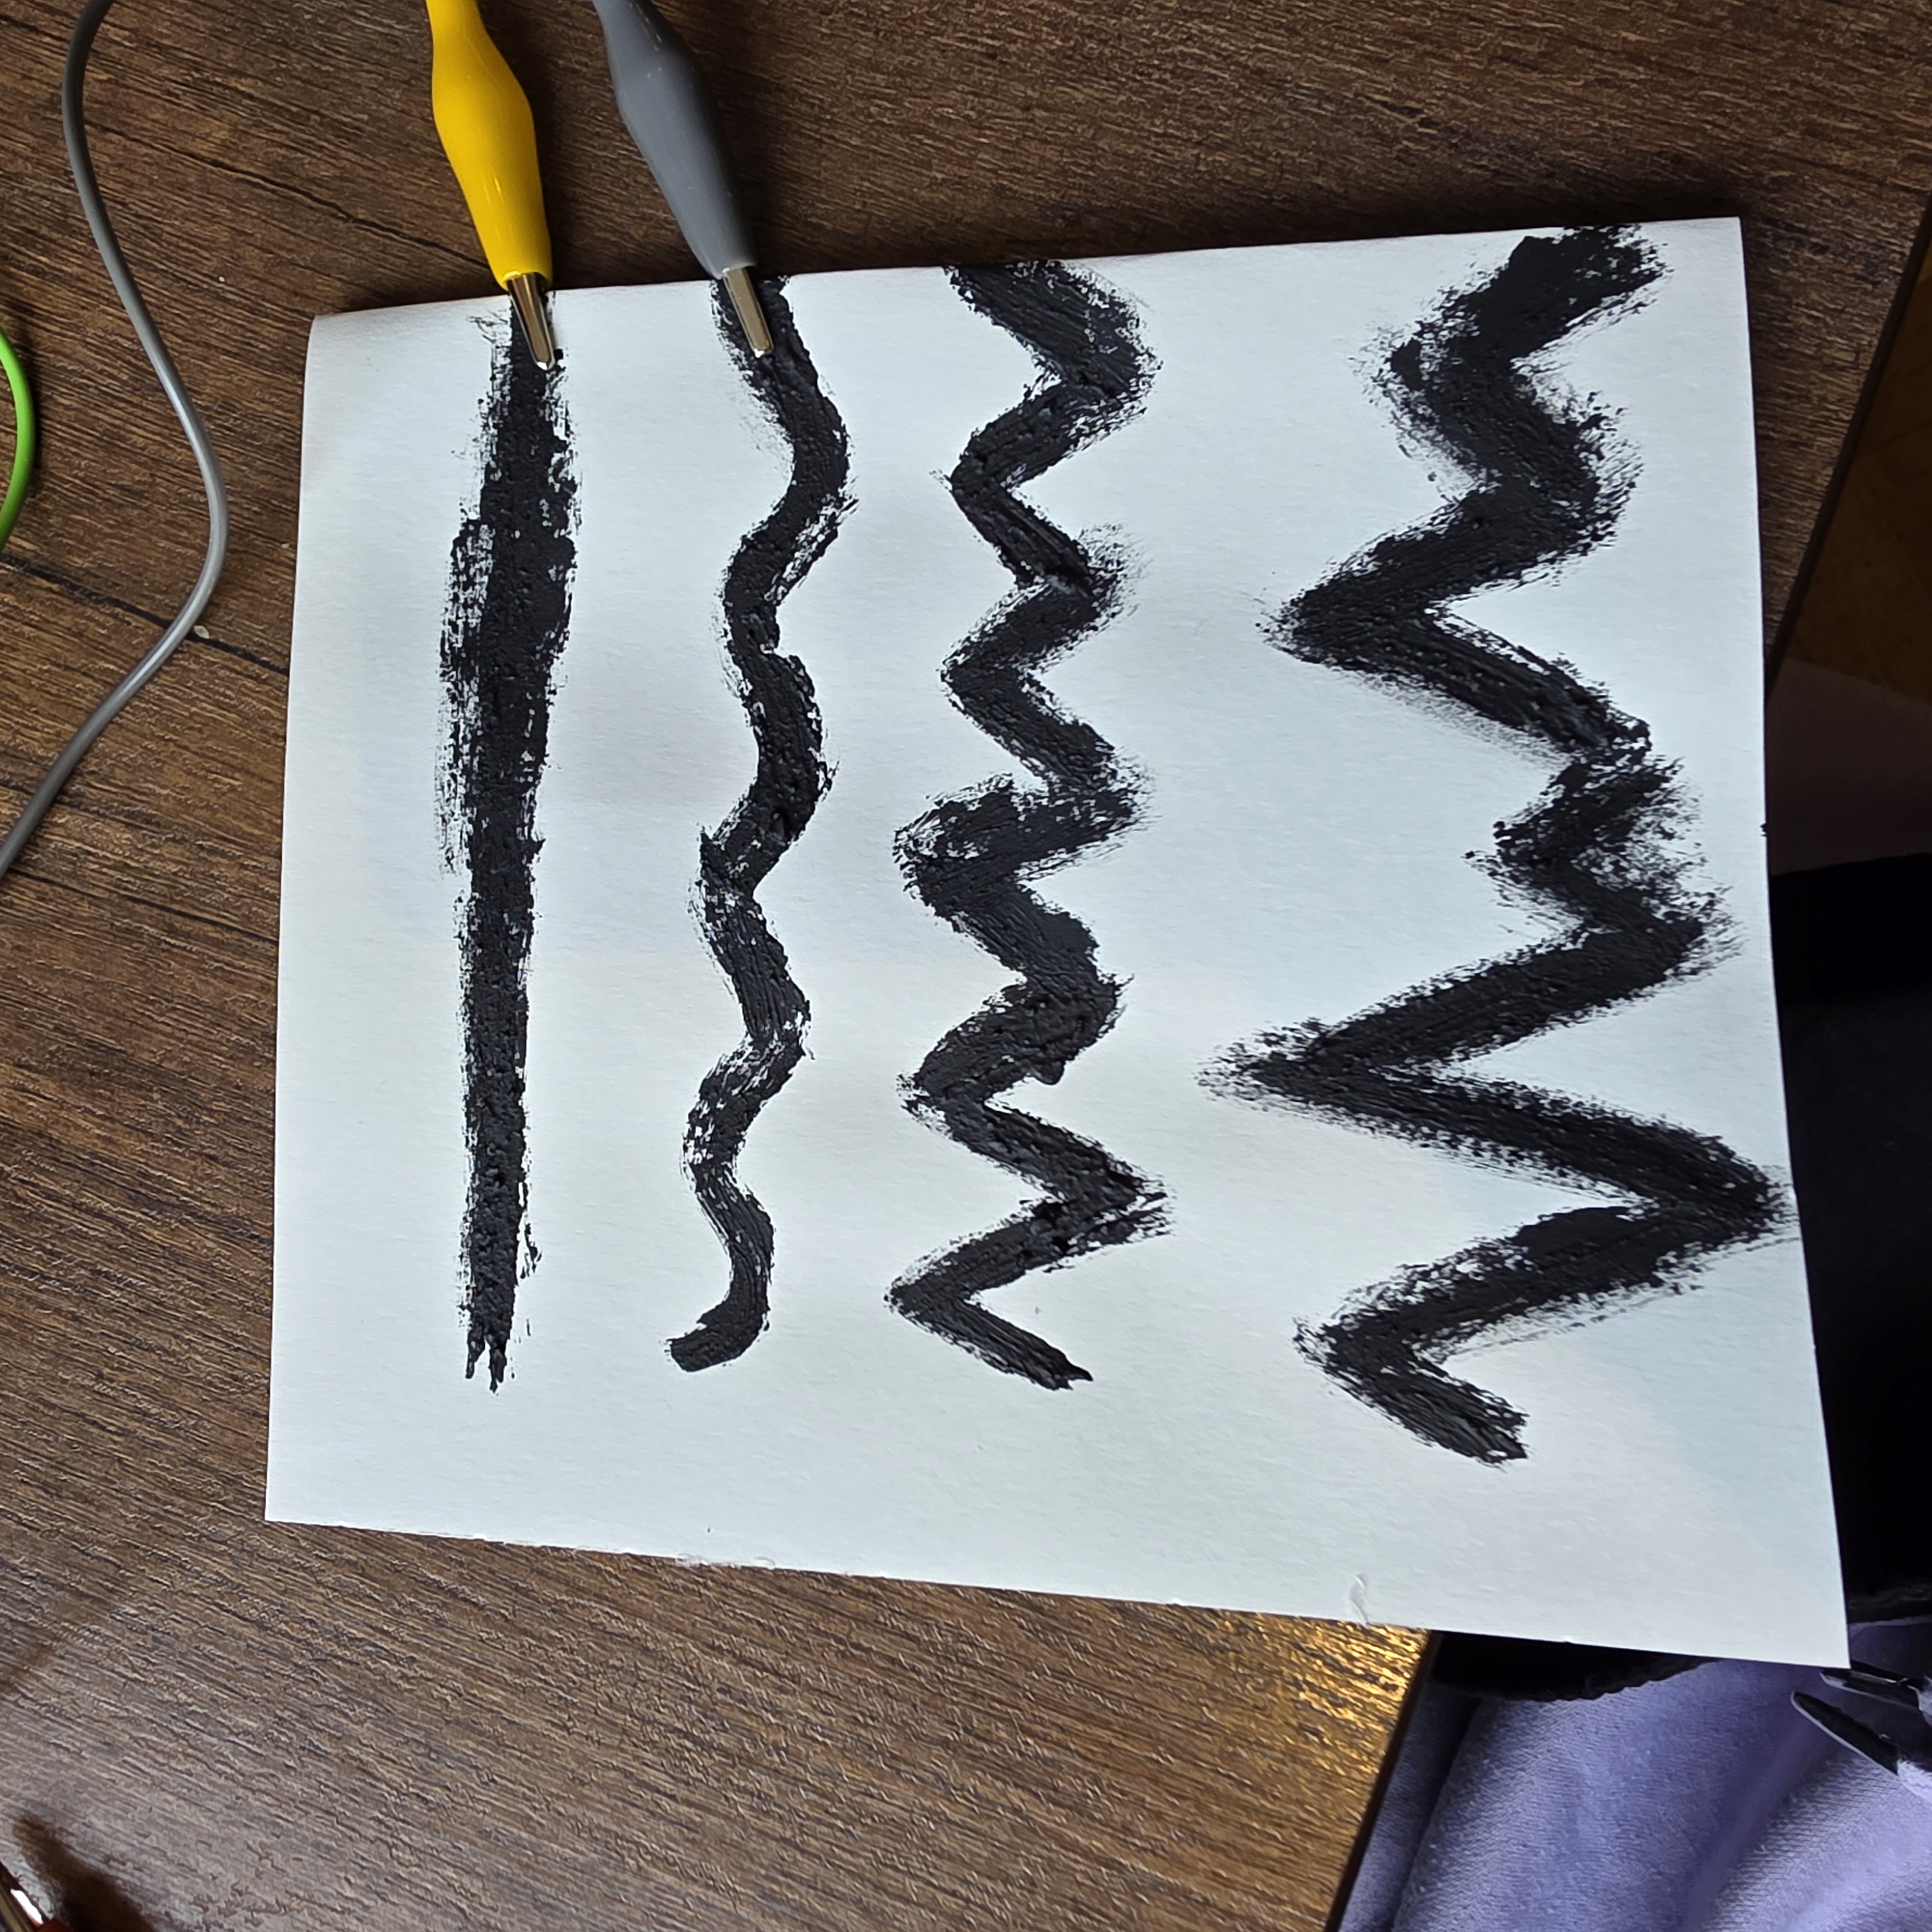
Activity 2

Project 3
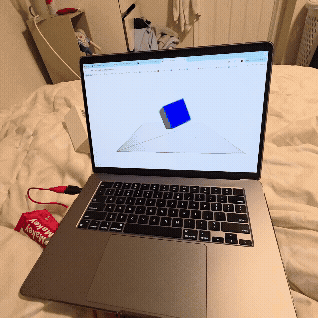
Final Project 3 Design
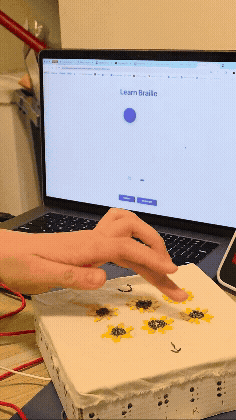
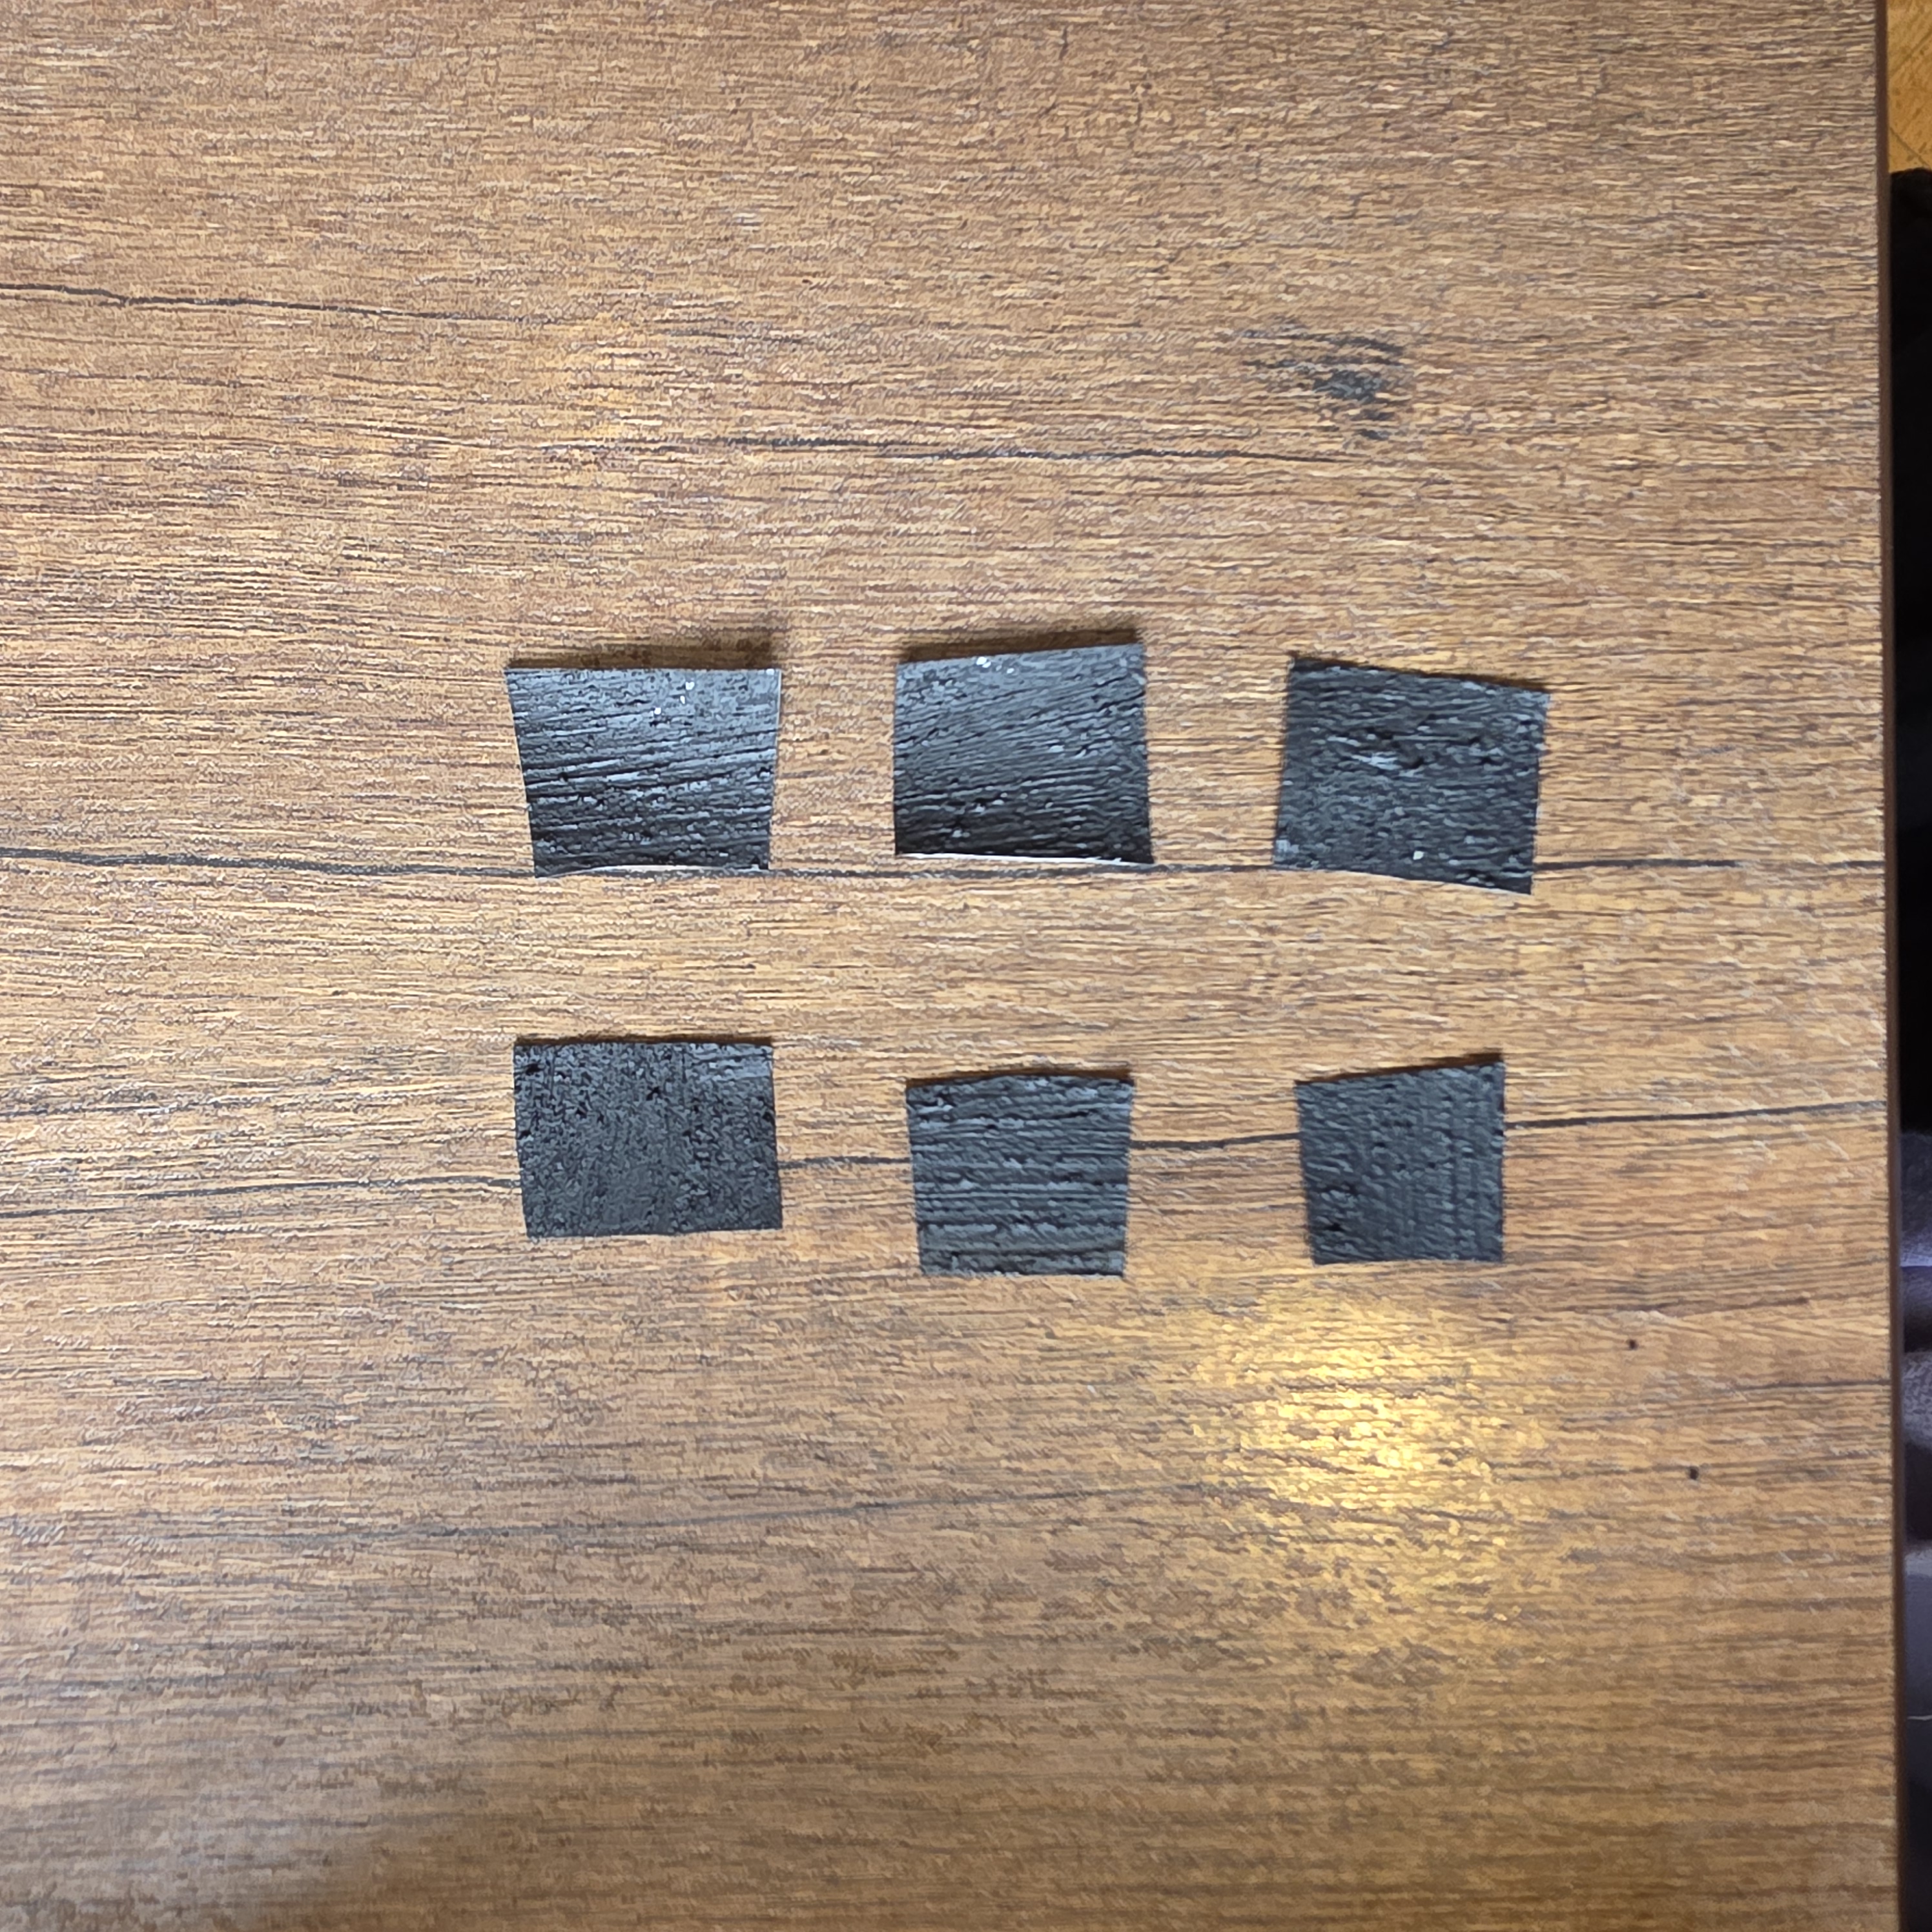
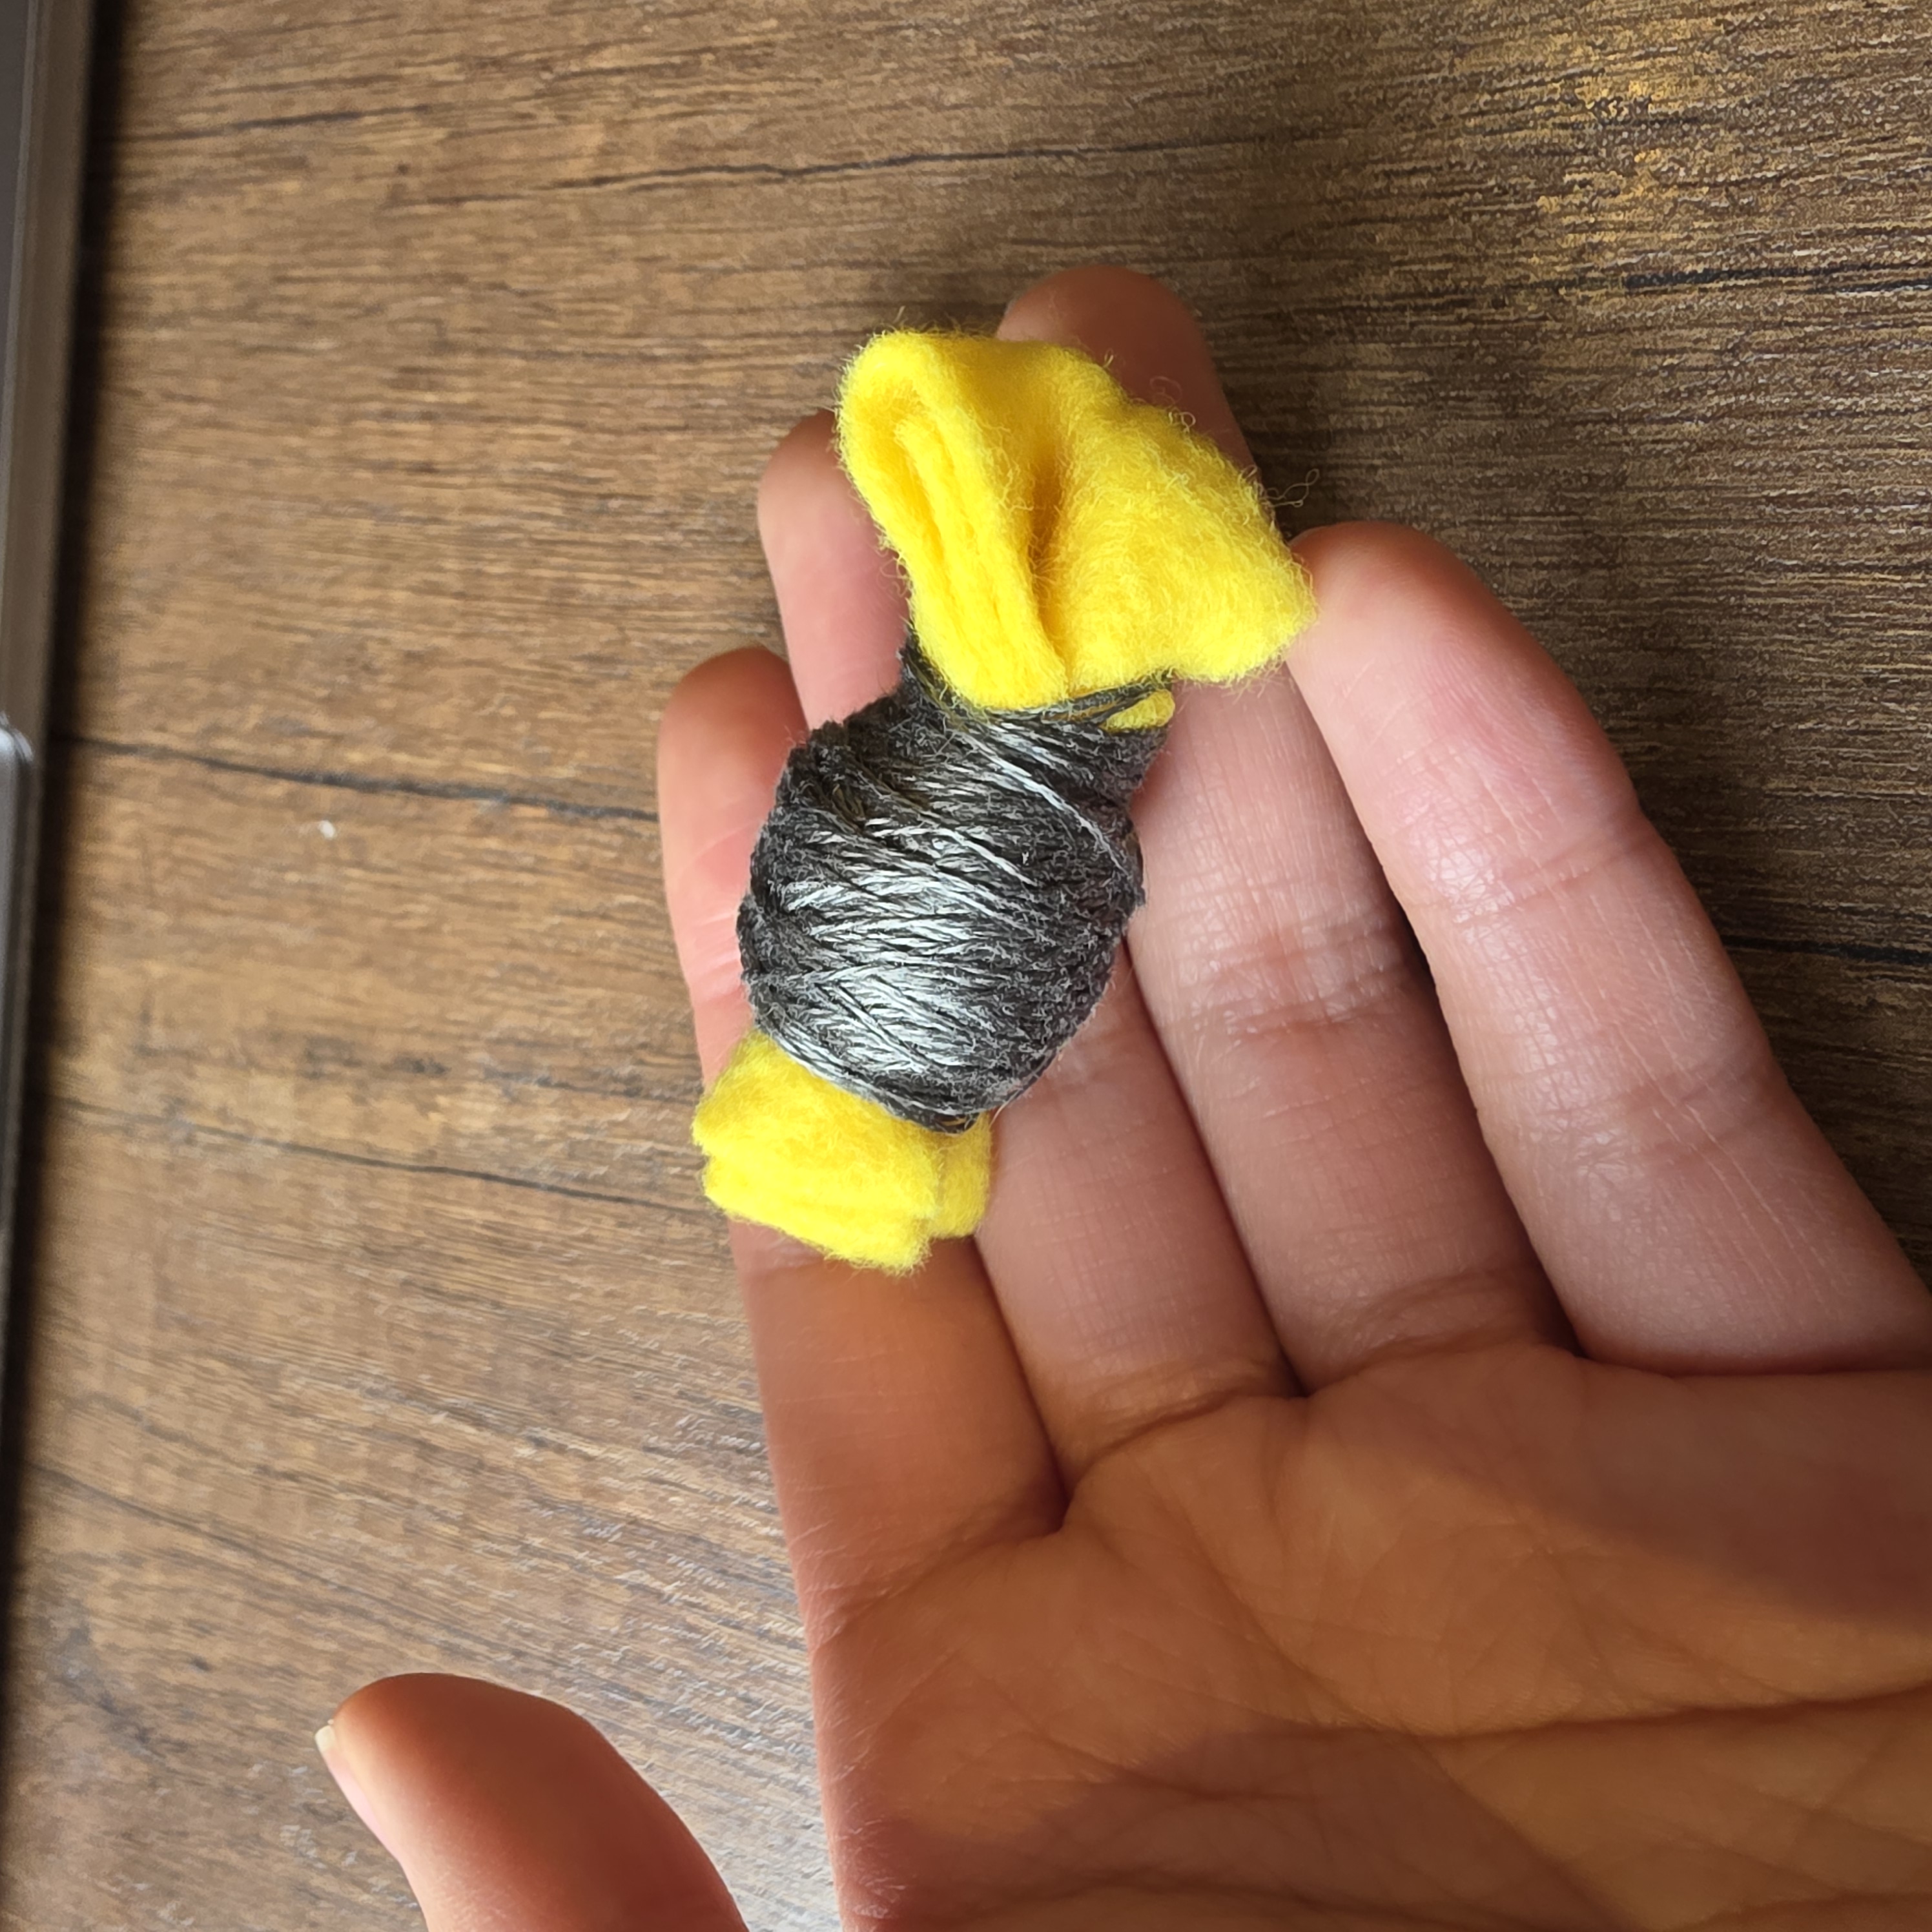
Learning Braille through a Makey Makey and Conductive Thread Embroidery Project